
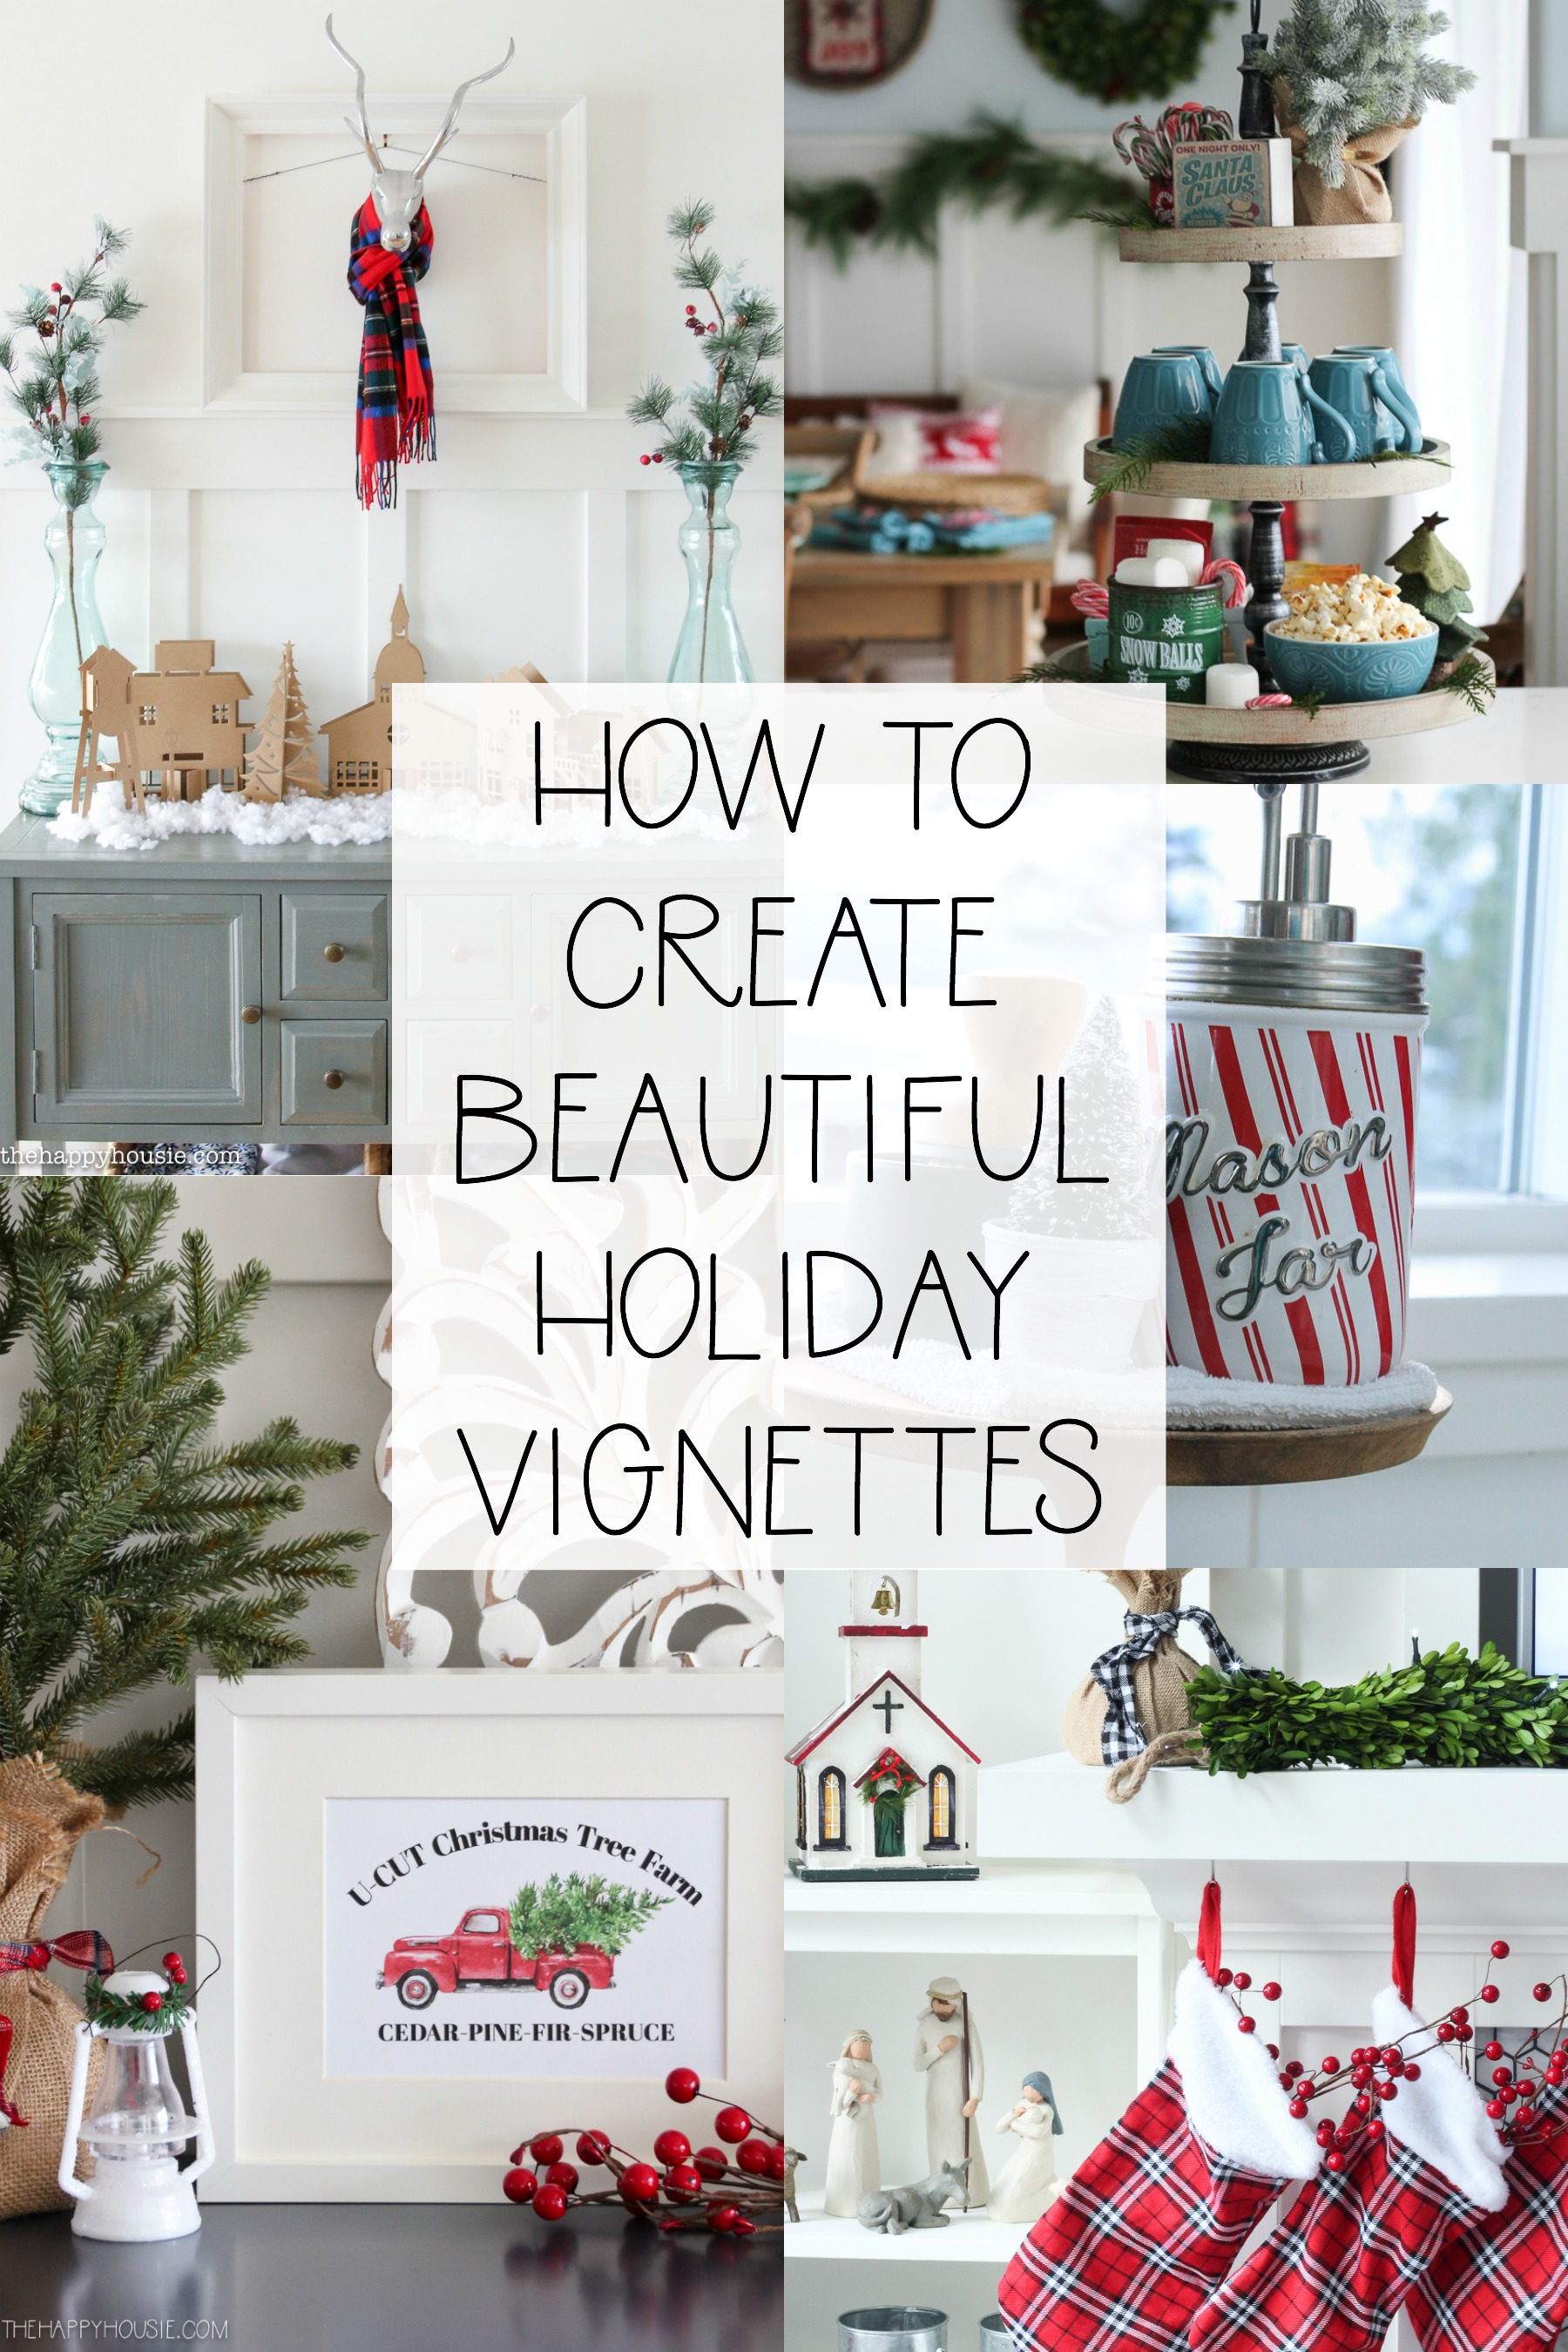
How to Create Beautiful Holiday Vignettes Throughout Your Home
Today I’m sharing my best tips for how to create a holiday vignettes throughout your home.
Do you ever stand in front of your bin full of Christmas decorations wondering how in the world to put them all together in a way that looks polished and finished? That makes your home feel put together and welcoming and not just like the Christmas fairy came and puked all over every surface in your house?
Today’s Seasonal Simplicity hop is all about sharing our beautifully styled mantels and vignettes; but if you don’t have a designer or decorator or home blogger living in your hall closet, then what can you do?!
Today I’m sharing some straight forward tips to help demystify the process of putting together lovely holiday vignettes so that you can create that next level decorated holiday feel in your home this Christmas.

So we’ve established that creating beautiful vignettes is one of the best ways to give your home a welcoming and polished feel, at any time of year, and not just during the holiday season.
But, first off, what is a vignette, anyhow?
Well, it’s simply a way of grouping items and objects on a flat surface. The idea is to use your decorative objects to create a beautiful scene, almost like a 3-D piece of art or still life. If you don’t have a mantel, then you can create a beautiful holiday vignette(s) on a dining hutch, shelves, a bookcase, countertops, your dresser or nightstand, or even on a windowsill or on the floor!
So, now you’ve got 18 bins of Christmas decorations open in front of you. Which ones should you use? And which ones should go together? And how the heck can you pick between them? And where should they go?
Eek! Take a deep breath. You’ve got this. In fact, once you get the hang of it, it’s actually really fun! My seven tips to help you on your way to creating lovely Christmas vignettes throughout your home are…
Choose a surface that work as a natural focal point
Mantels and the tops of dining room hutches are a natural focal point to place your vignette on, but there are other natural focal points around your home that will work equally as well and are a little more unexpected.
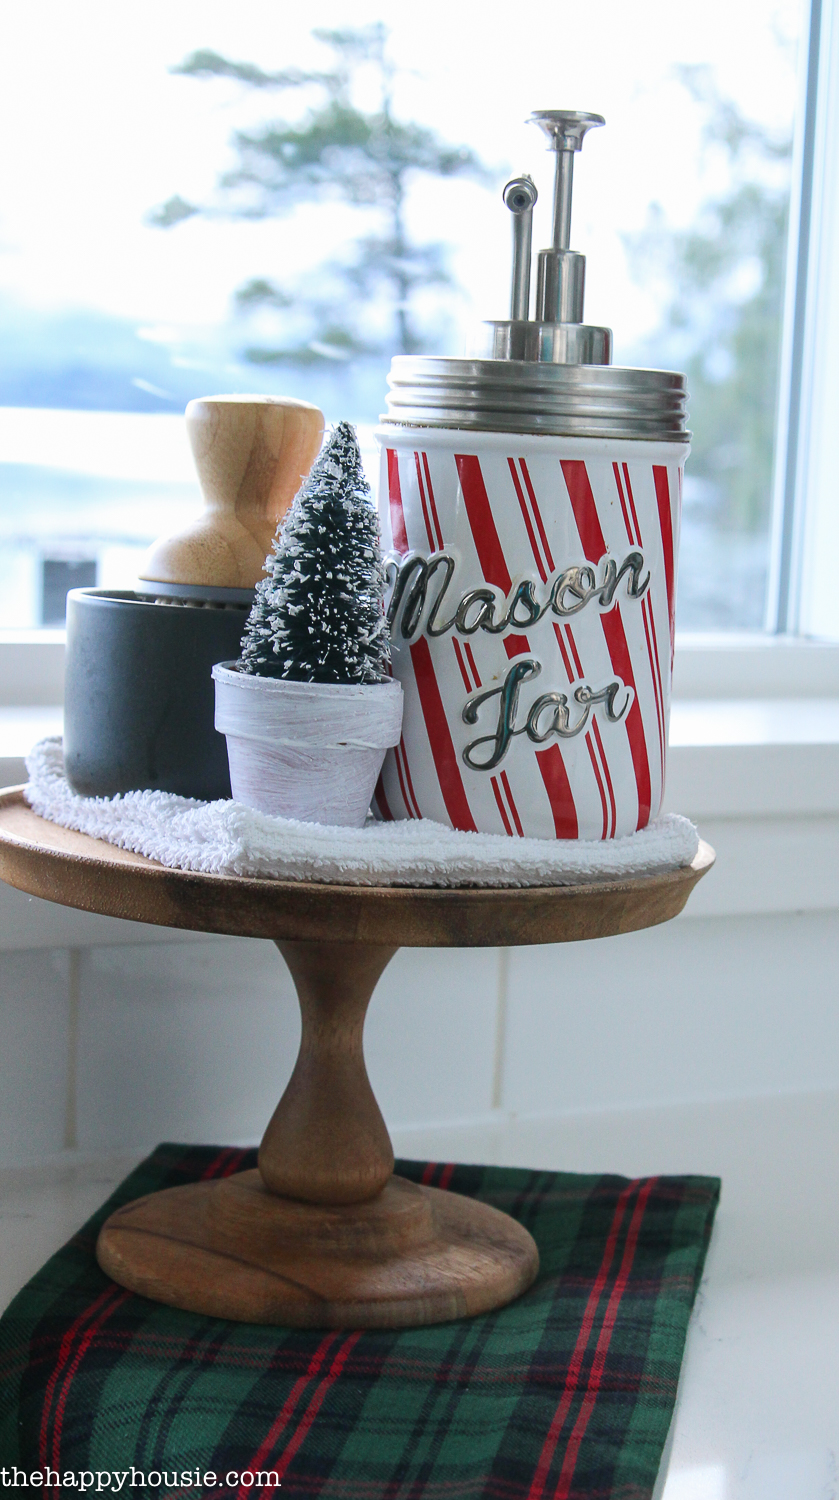
For example, the corner of your kitchen sink is a perfect spot for a lovely little holiday vignette, like this one that I put together last year for my soap dispenser.
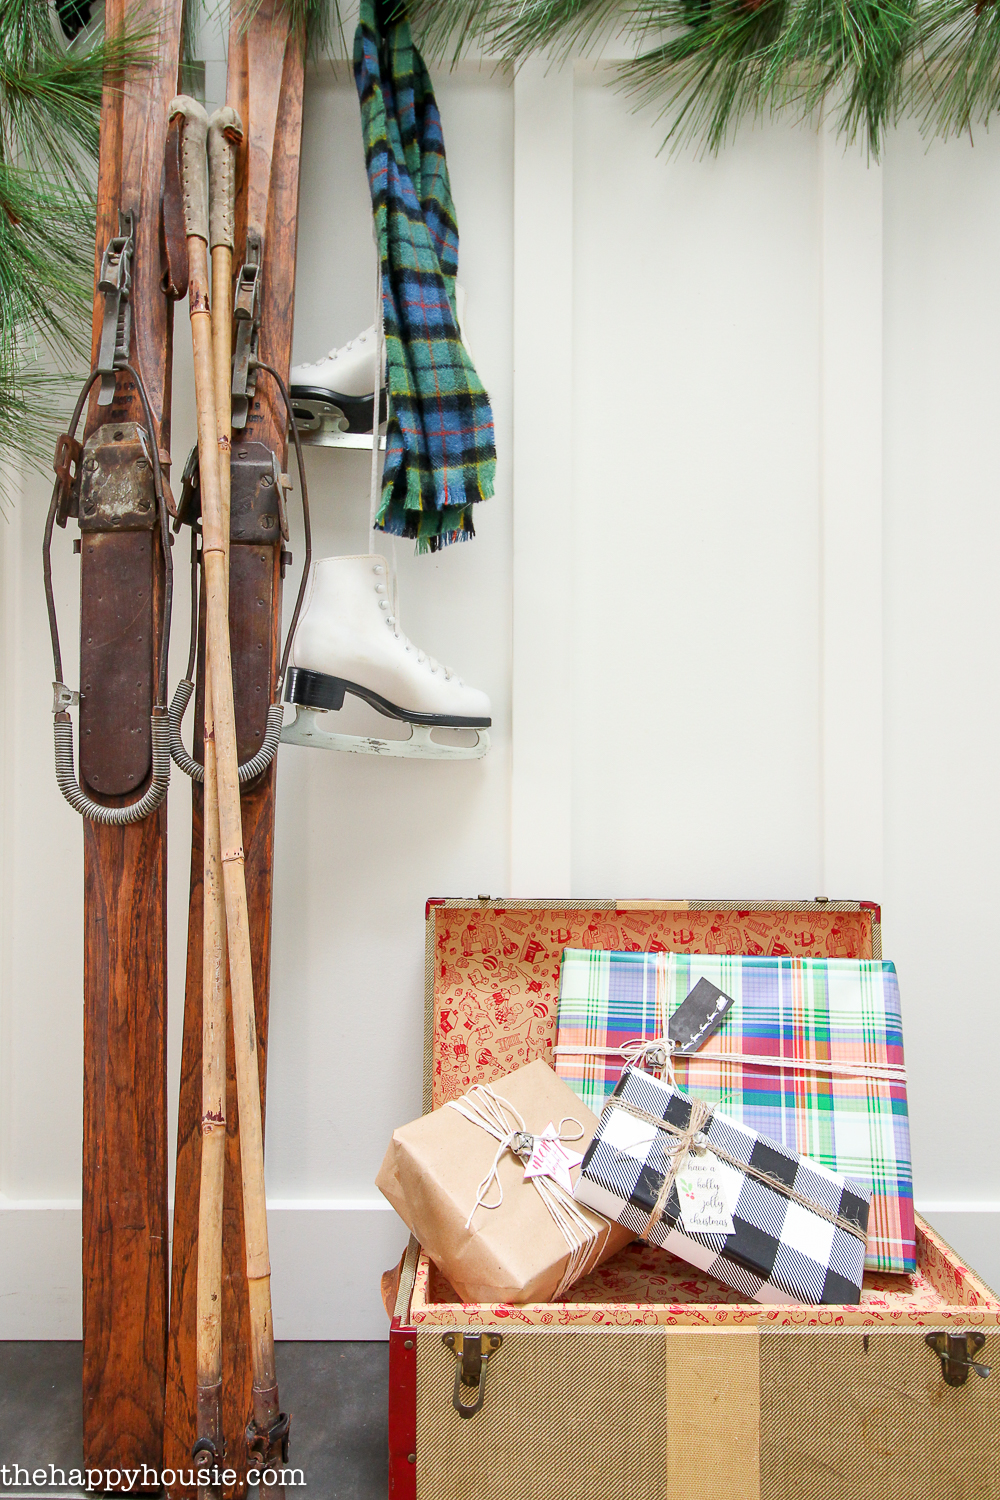
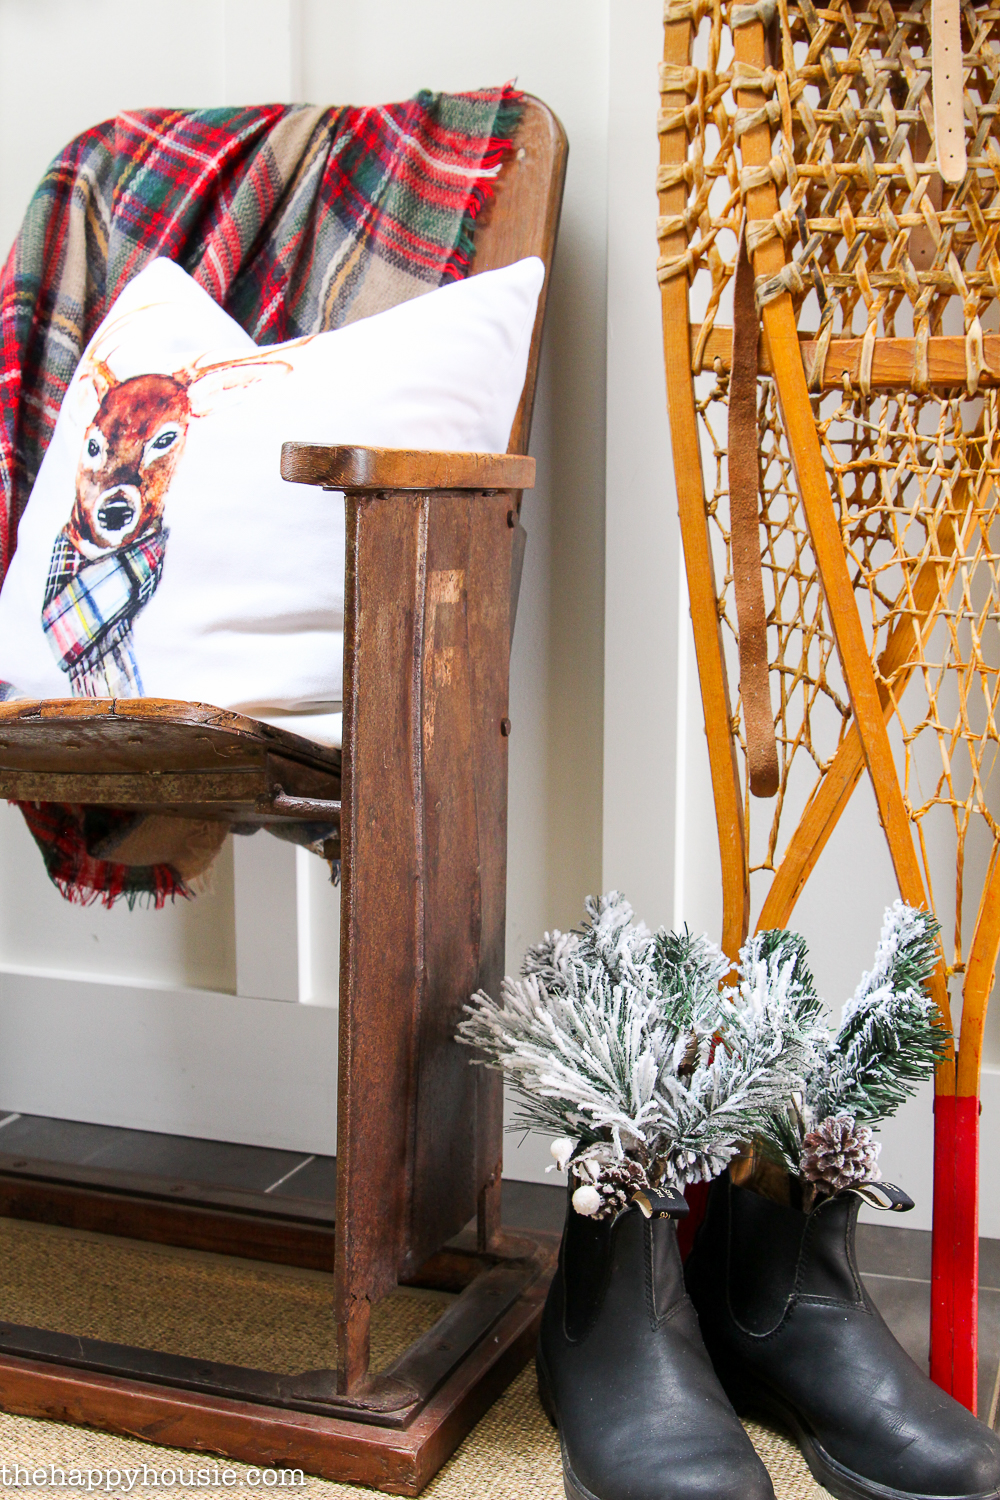
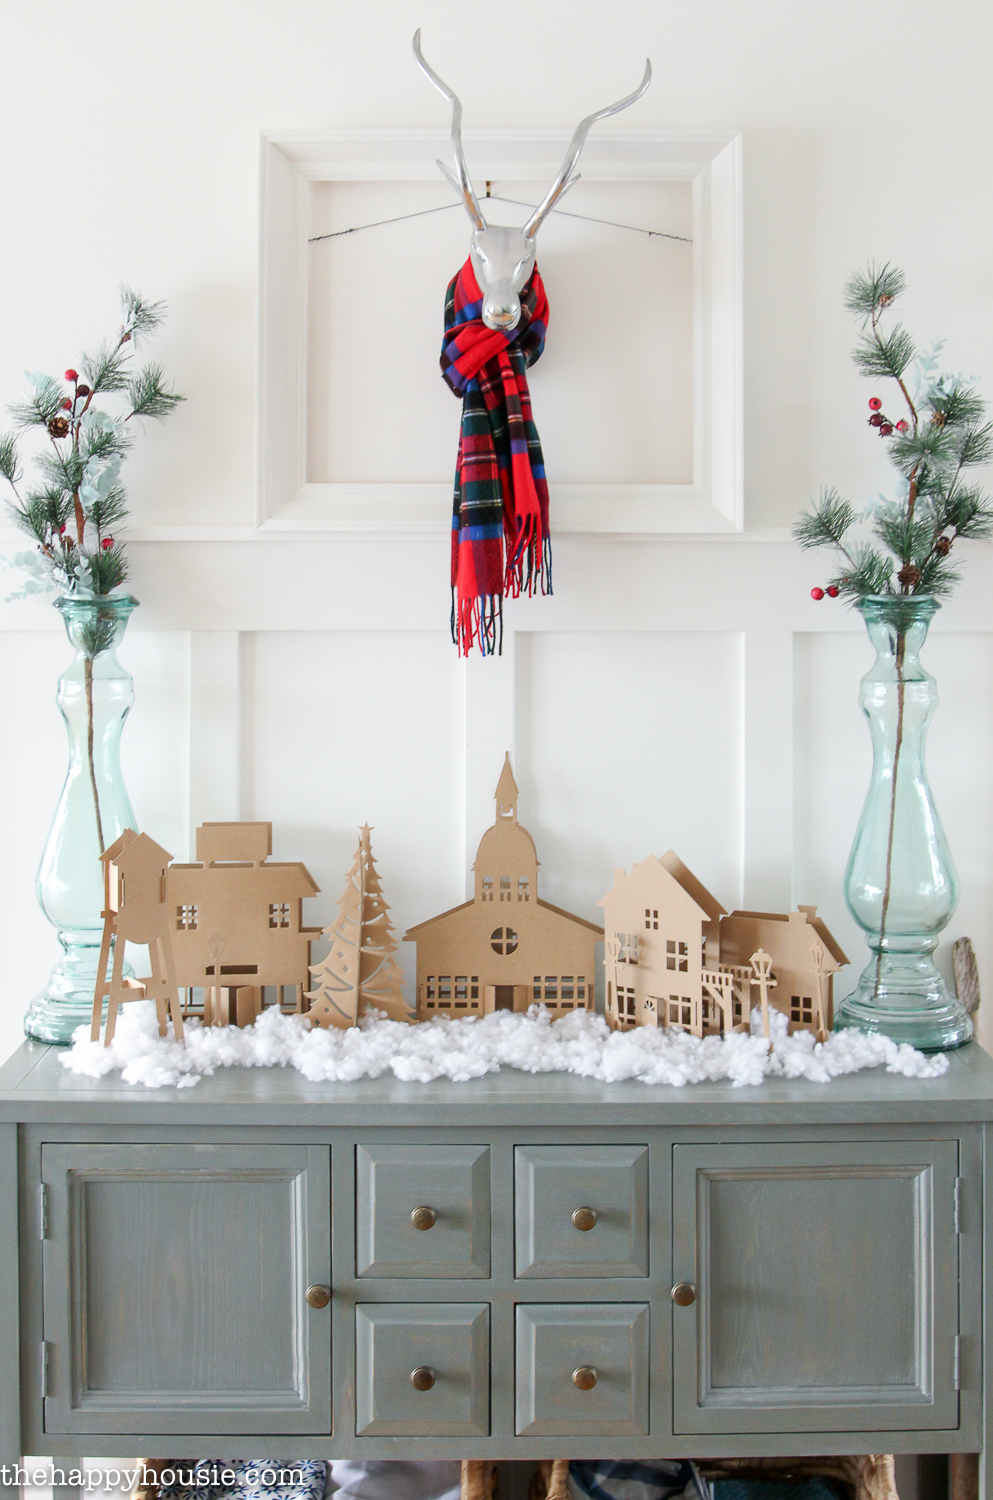
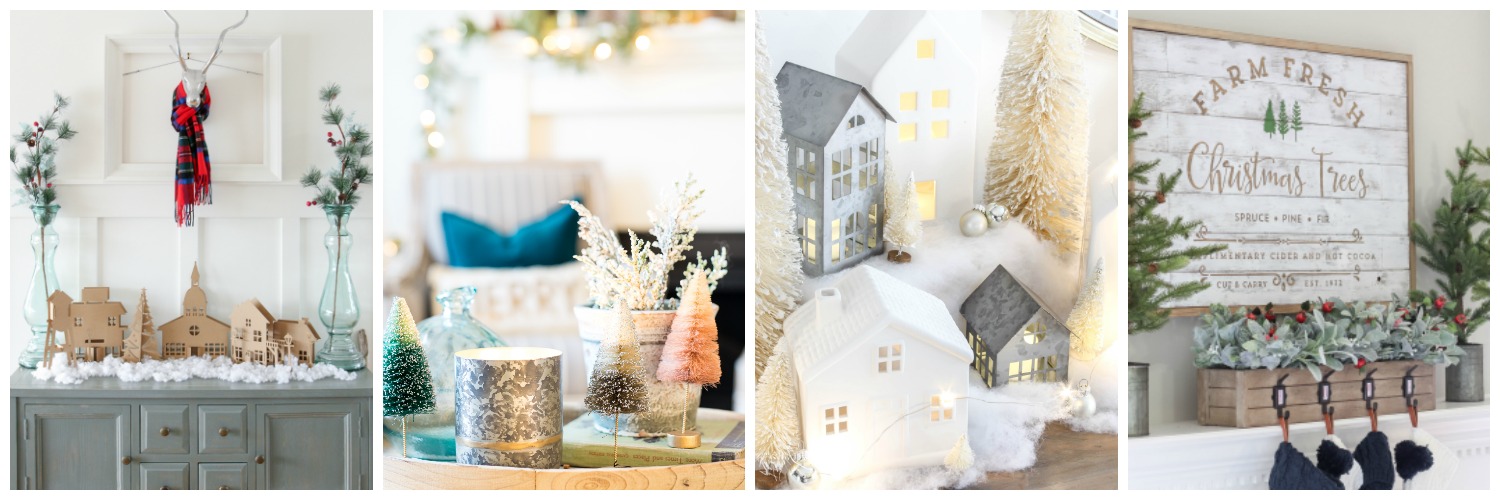
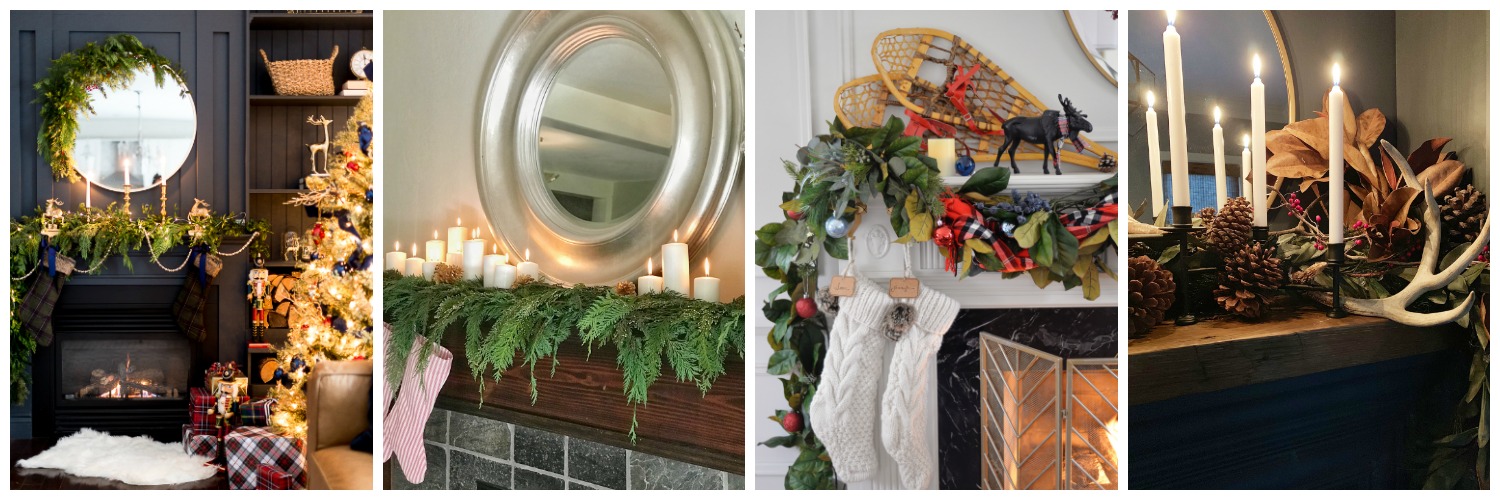
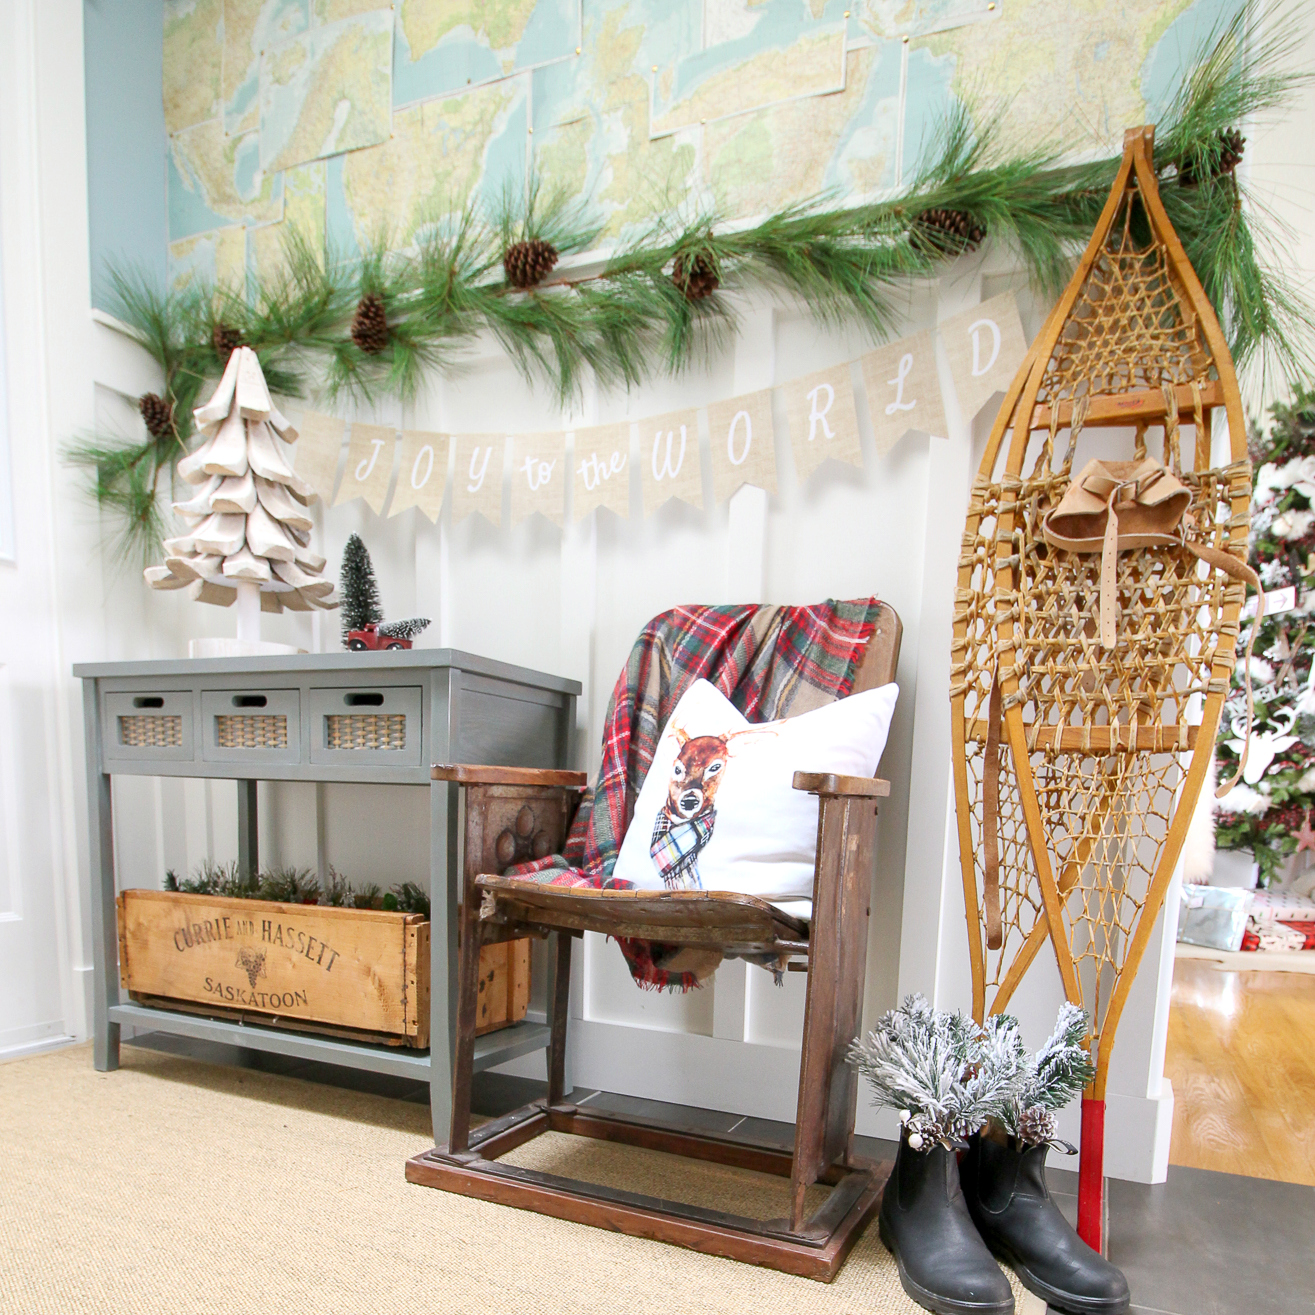
You definitely don’t need a mantel or hutch to create a welcoming and cute holiday vignette – you can even use the floor! In our entry hall, I incorporated some wooden vintage skis, layered them with old skates, and threw a colorful plaid scarf around it all for good measure.
Group objects in odd numbers
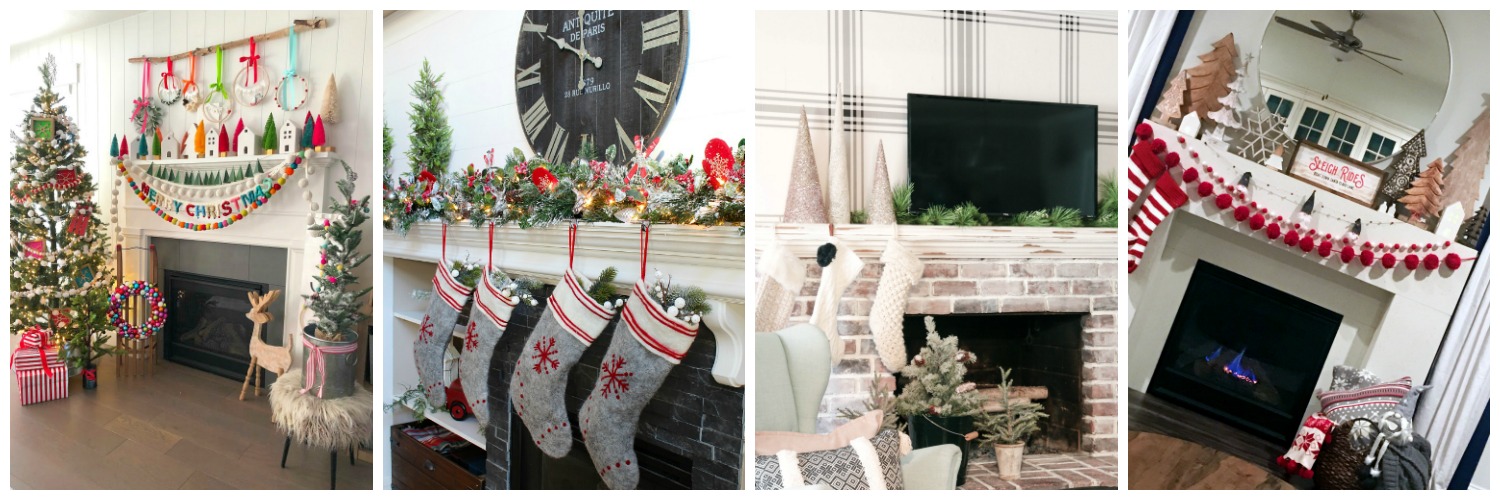
Think three, five, or seven. It’s a great rule of thumb for any vignette you are creating. I tend to flank an area with a pair of something, but then on each side I group like items together in either a group of three or five. Varying the height and layering the objects within the grouping are two more parts that I’ll discuss further, below.
Choose objects that can be united in colour
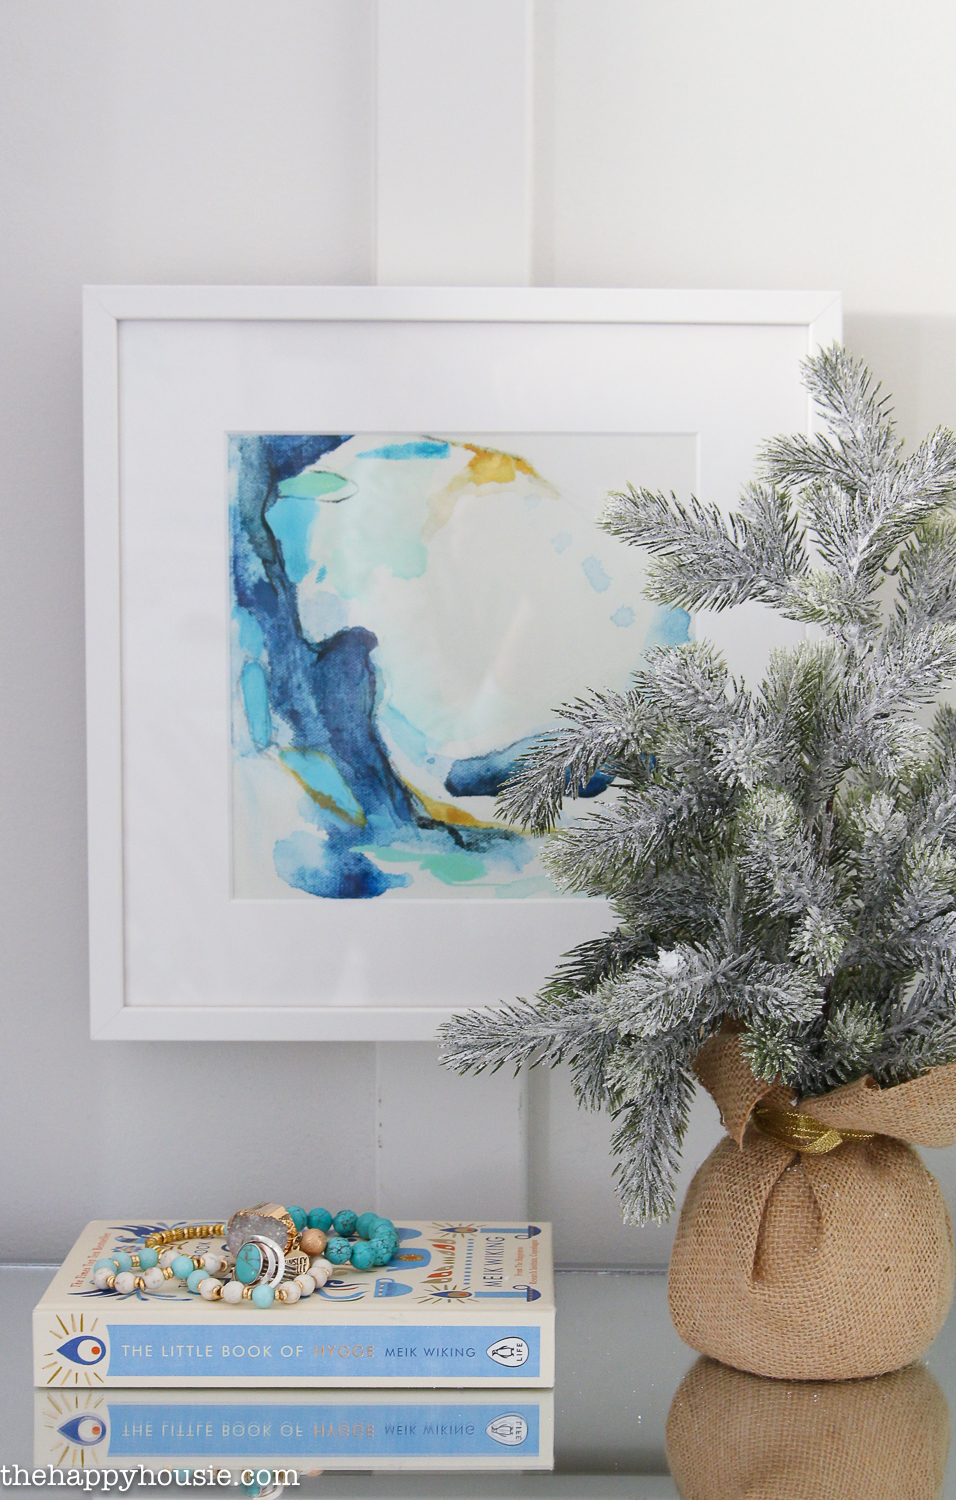
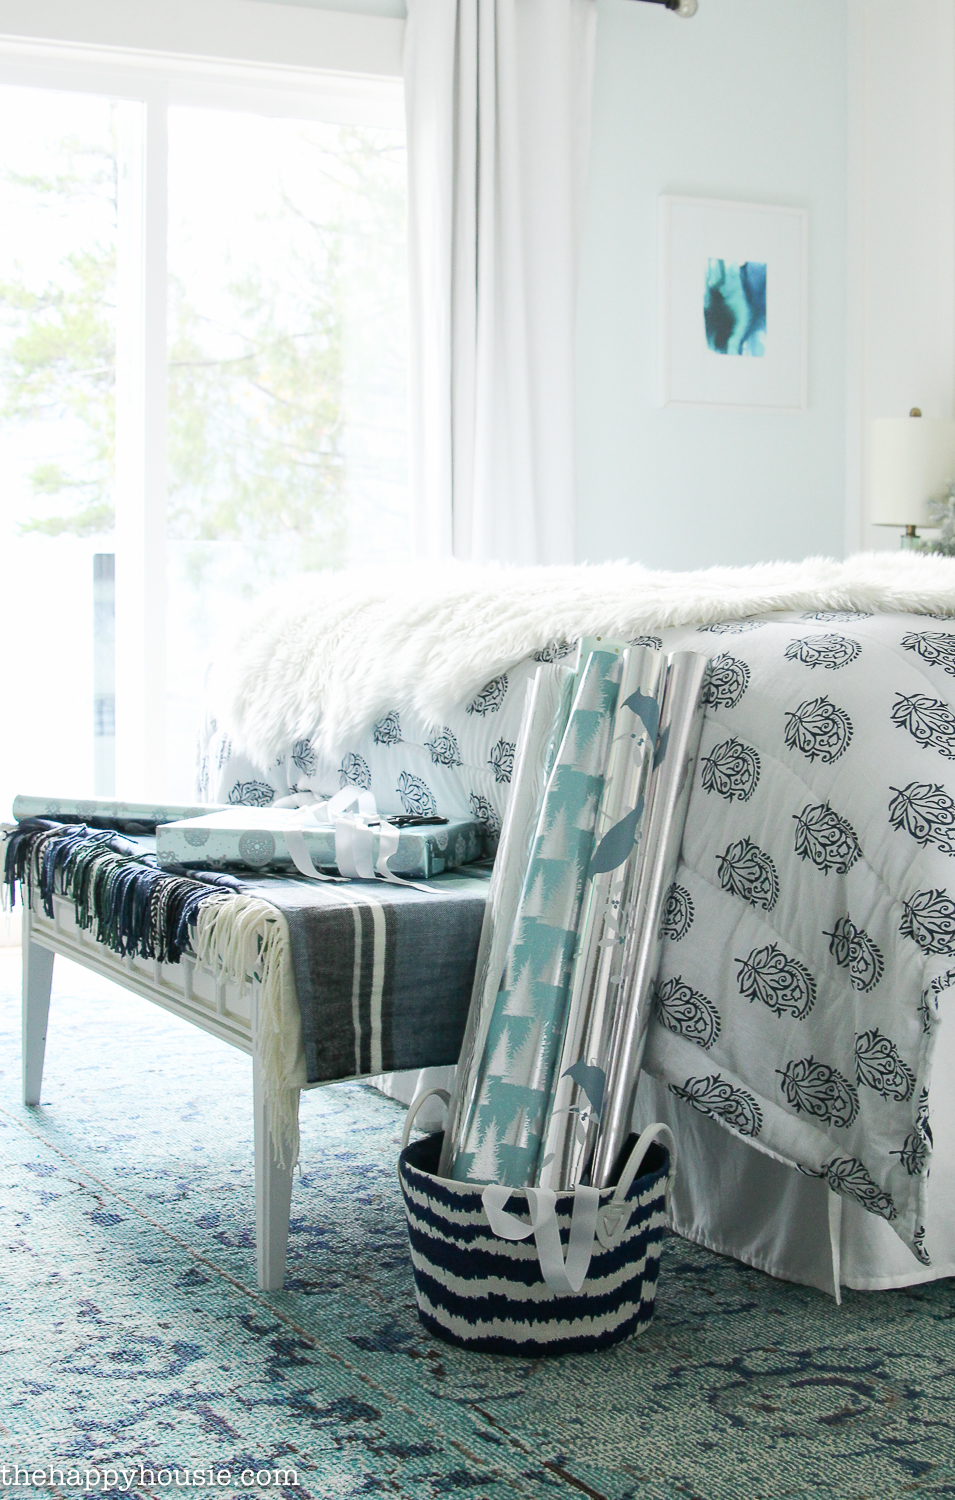
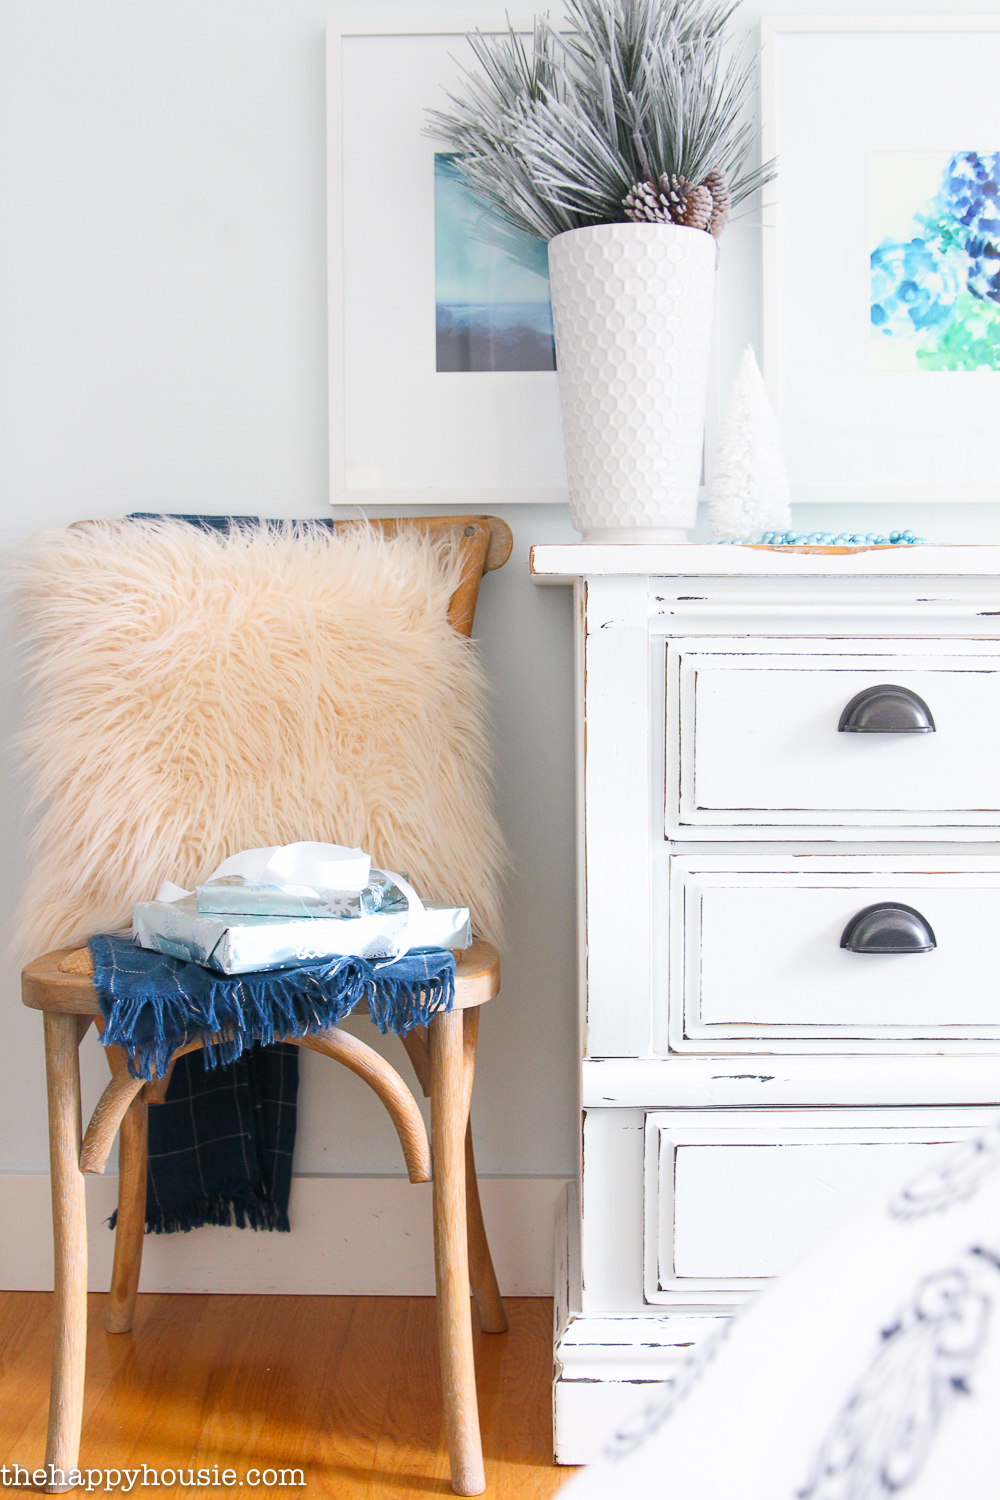
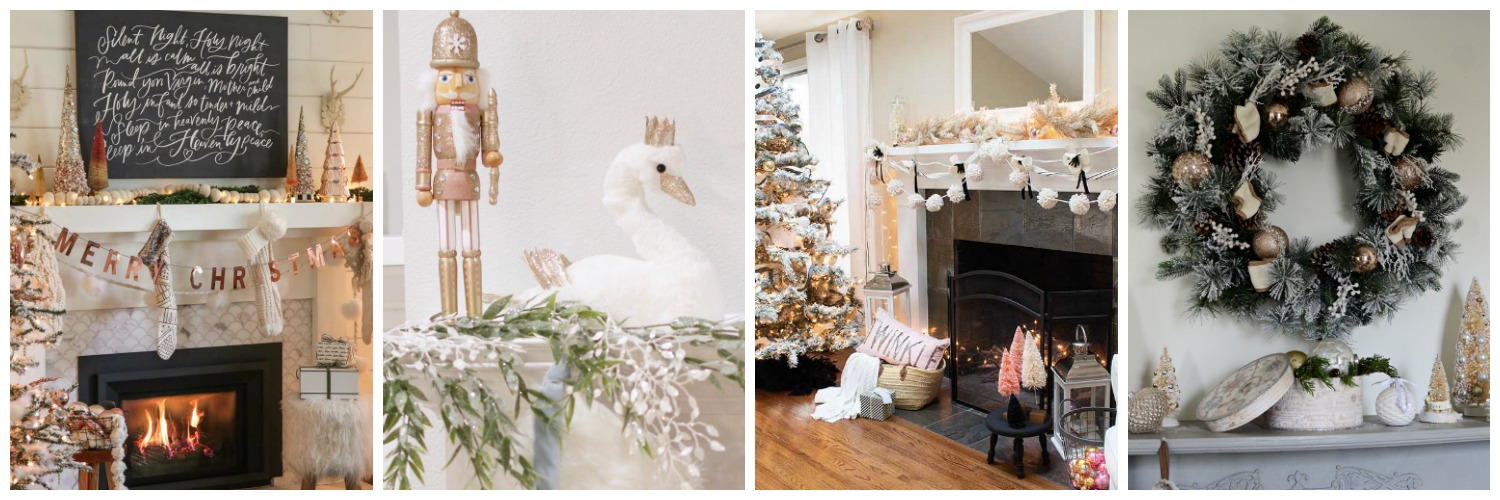
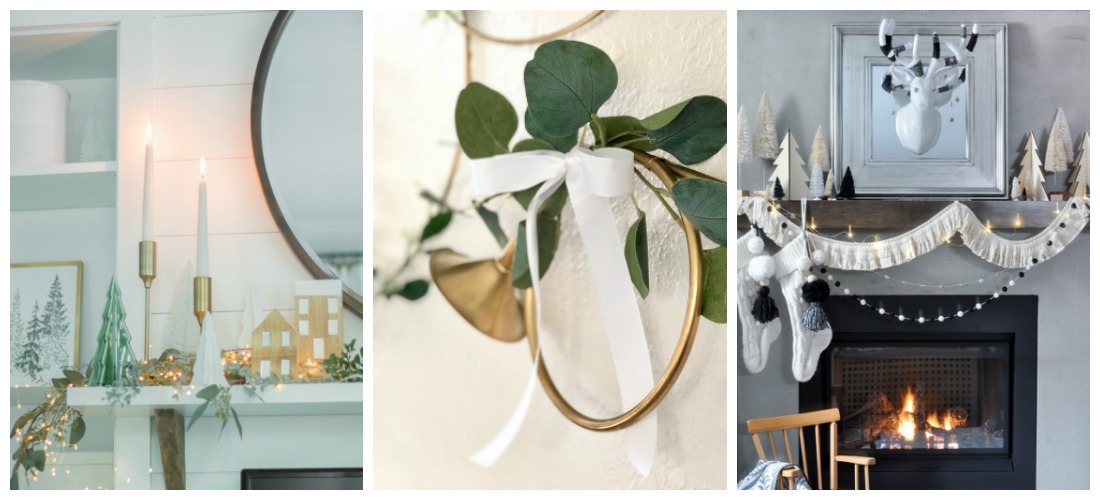
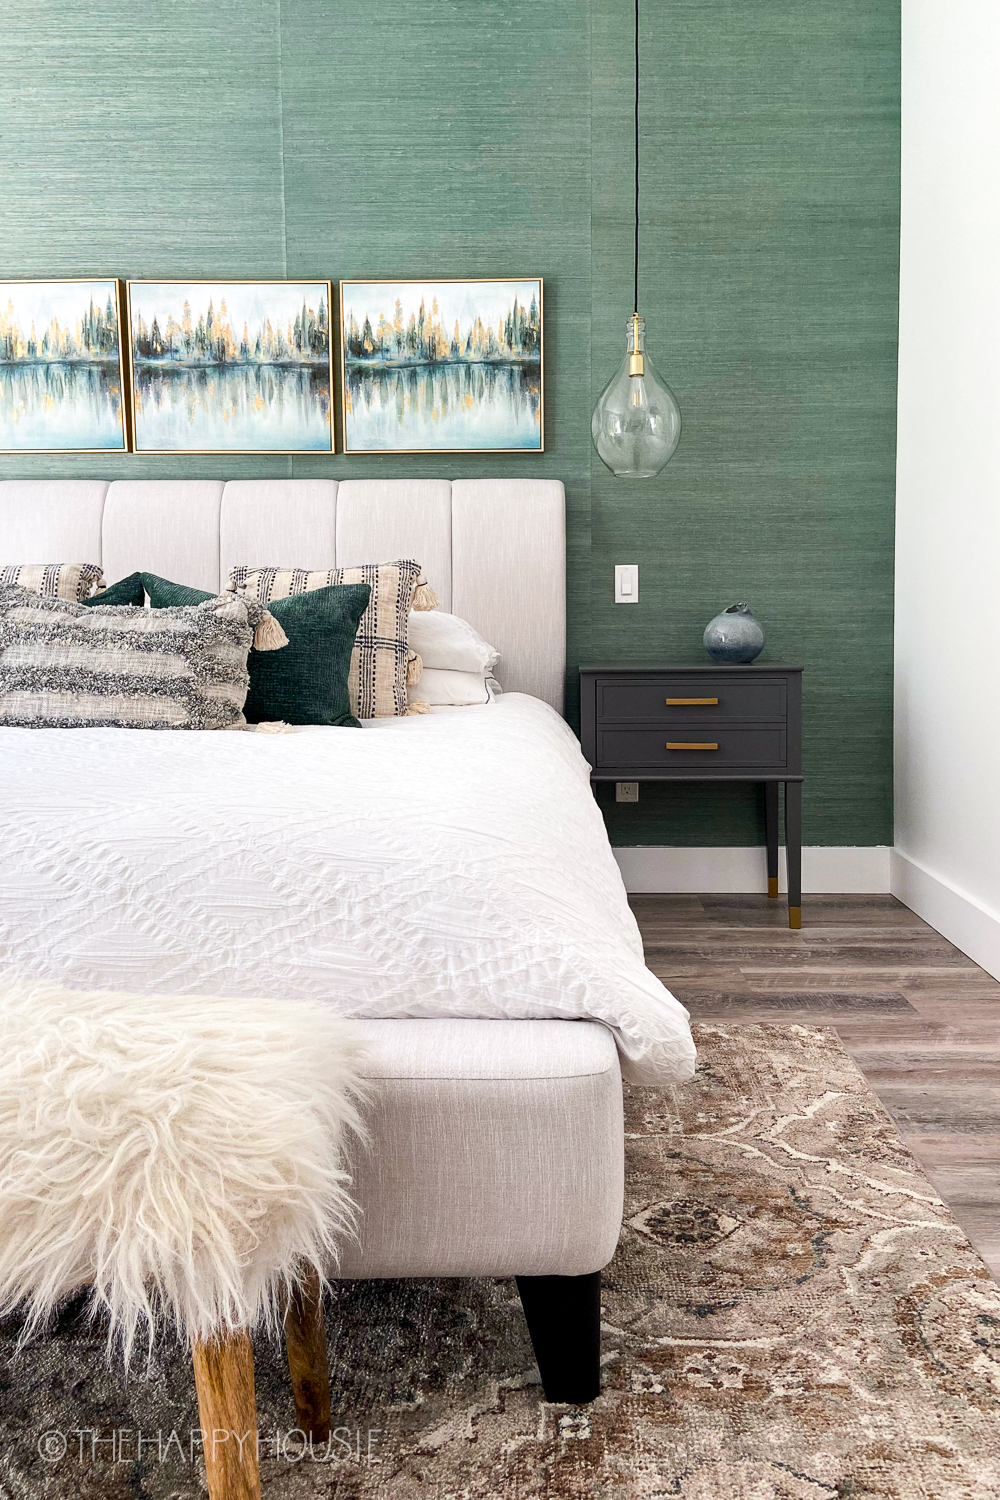
In our Christmas bedroom last year, I stuck with a blue, green, and white theme with pops of silvery tones. This kept the flow of the colours calm throughout the room, and all the pieces tied together with our year-round art and decor.
Mix the texture of objects
Texture is an easy one around the holidays, with all the greenery and fabrics that are part of things. The rustic texture of the vintage snow skis and old theatre chair is contrasted with the soft cozy texture of the plaid blanket and the snowy texture of the greenery tucked into some winter boots.
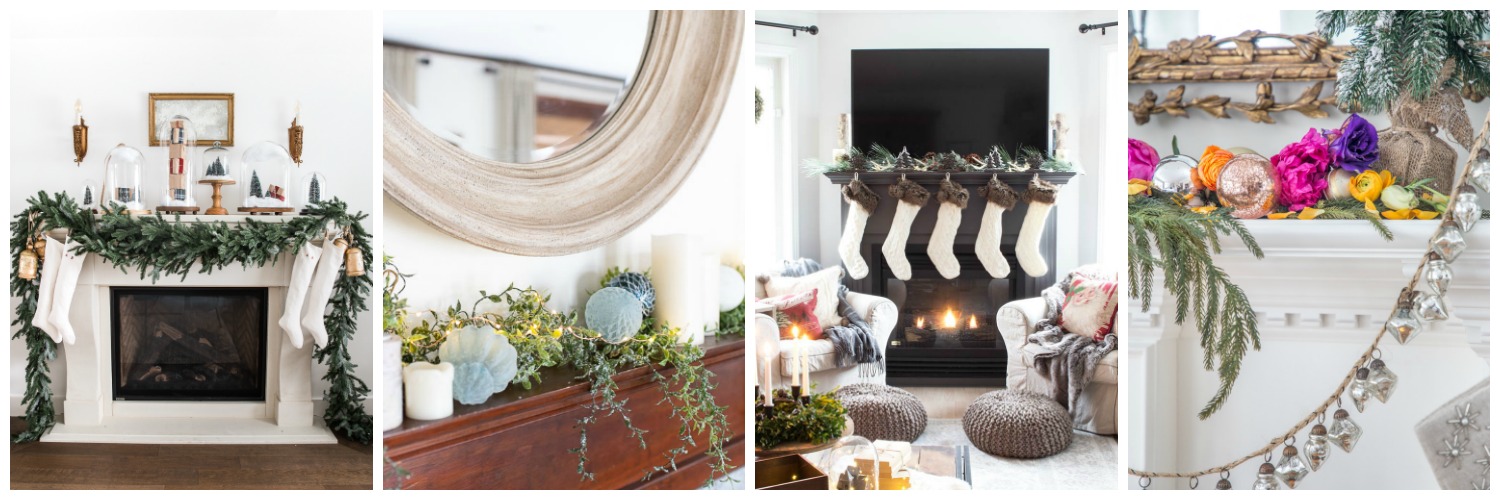
A fluffy pillow is a great way to layer in texture, and flocked branches add a lot as well.
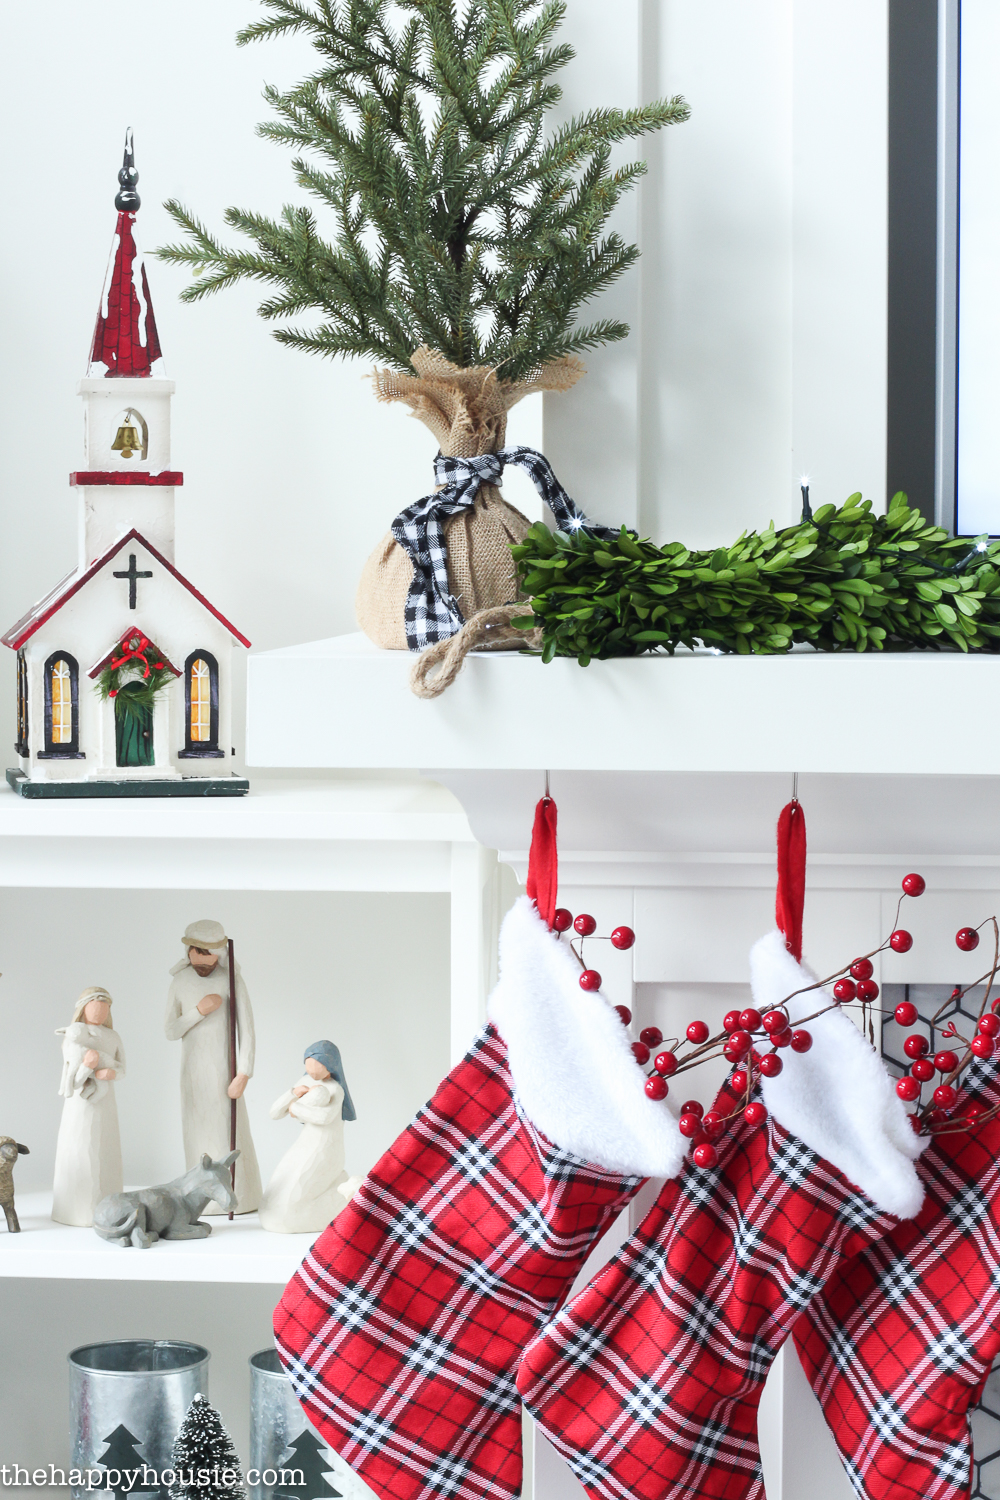
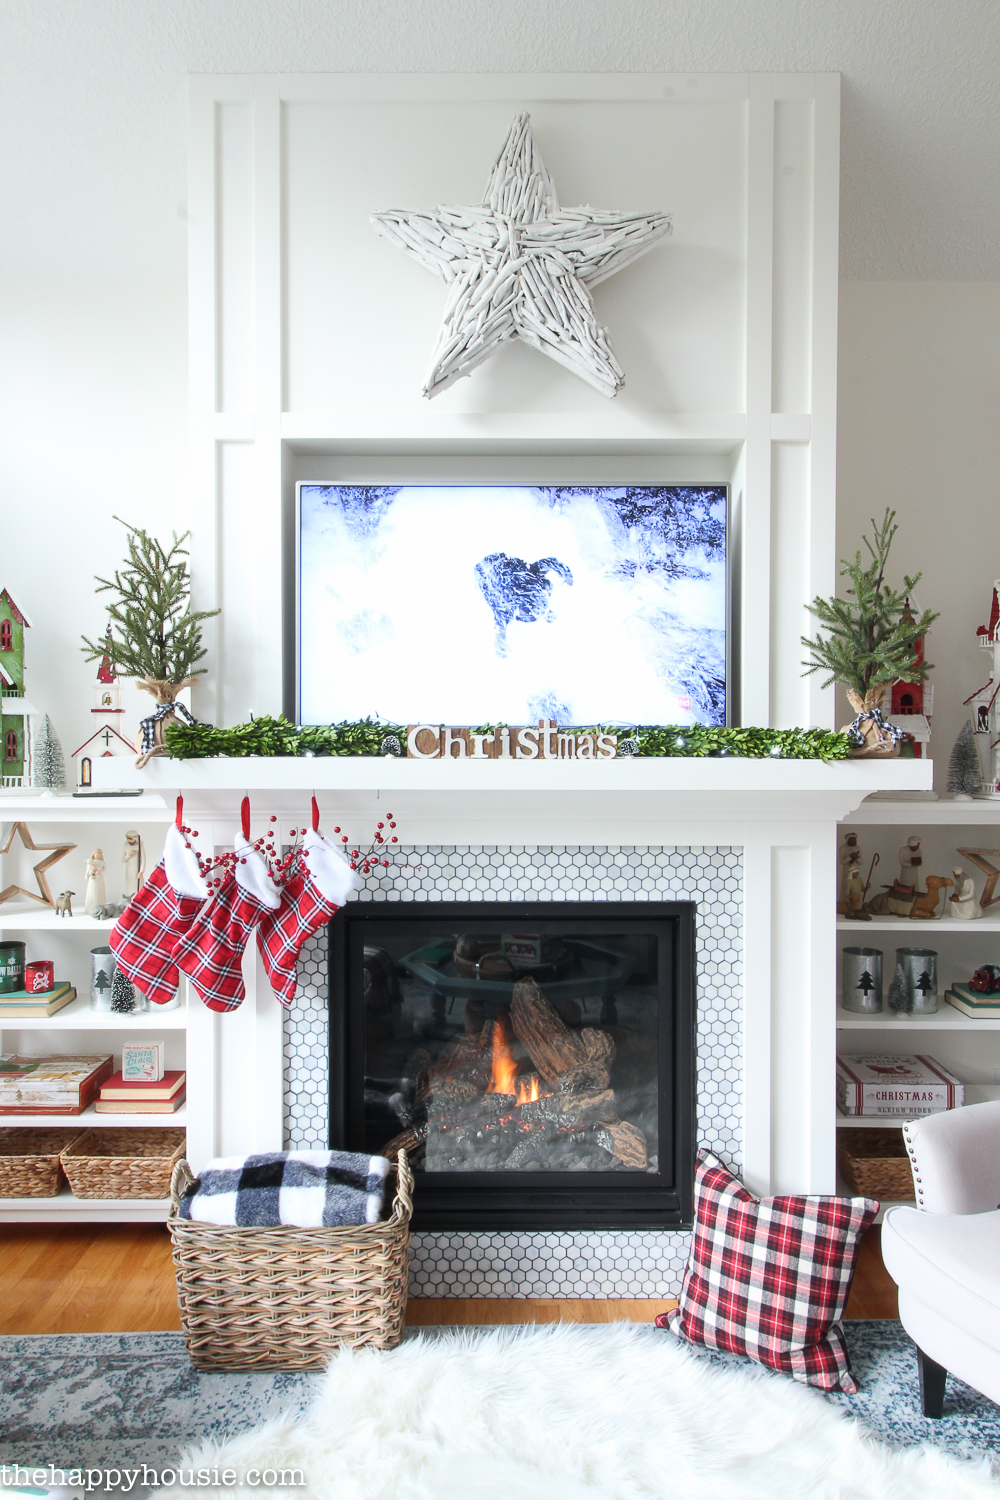
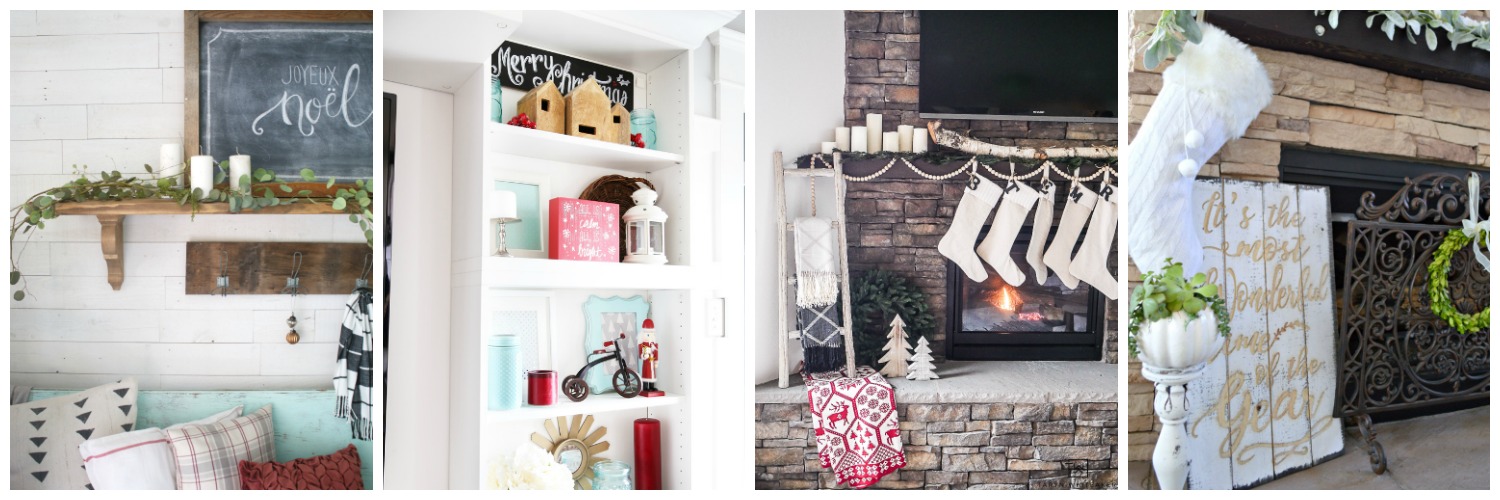
On our Christmas mantel I layered the natural textures of the greenery along with fabrics and ribbon, as well as some additional texture added in the fuzzy trim on the stockings.
Vary the heights of the objects
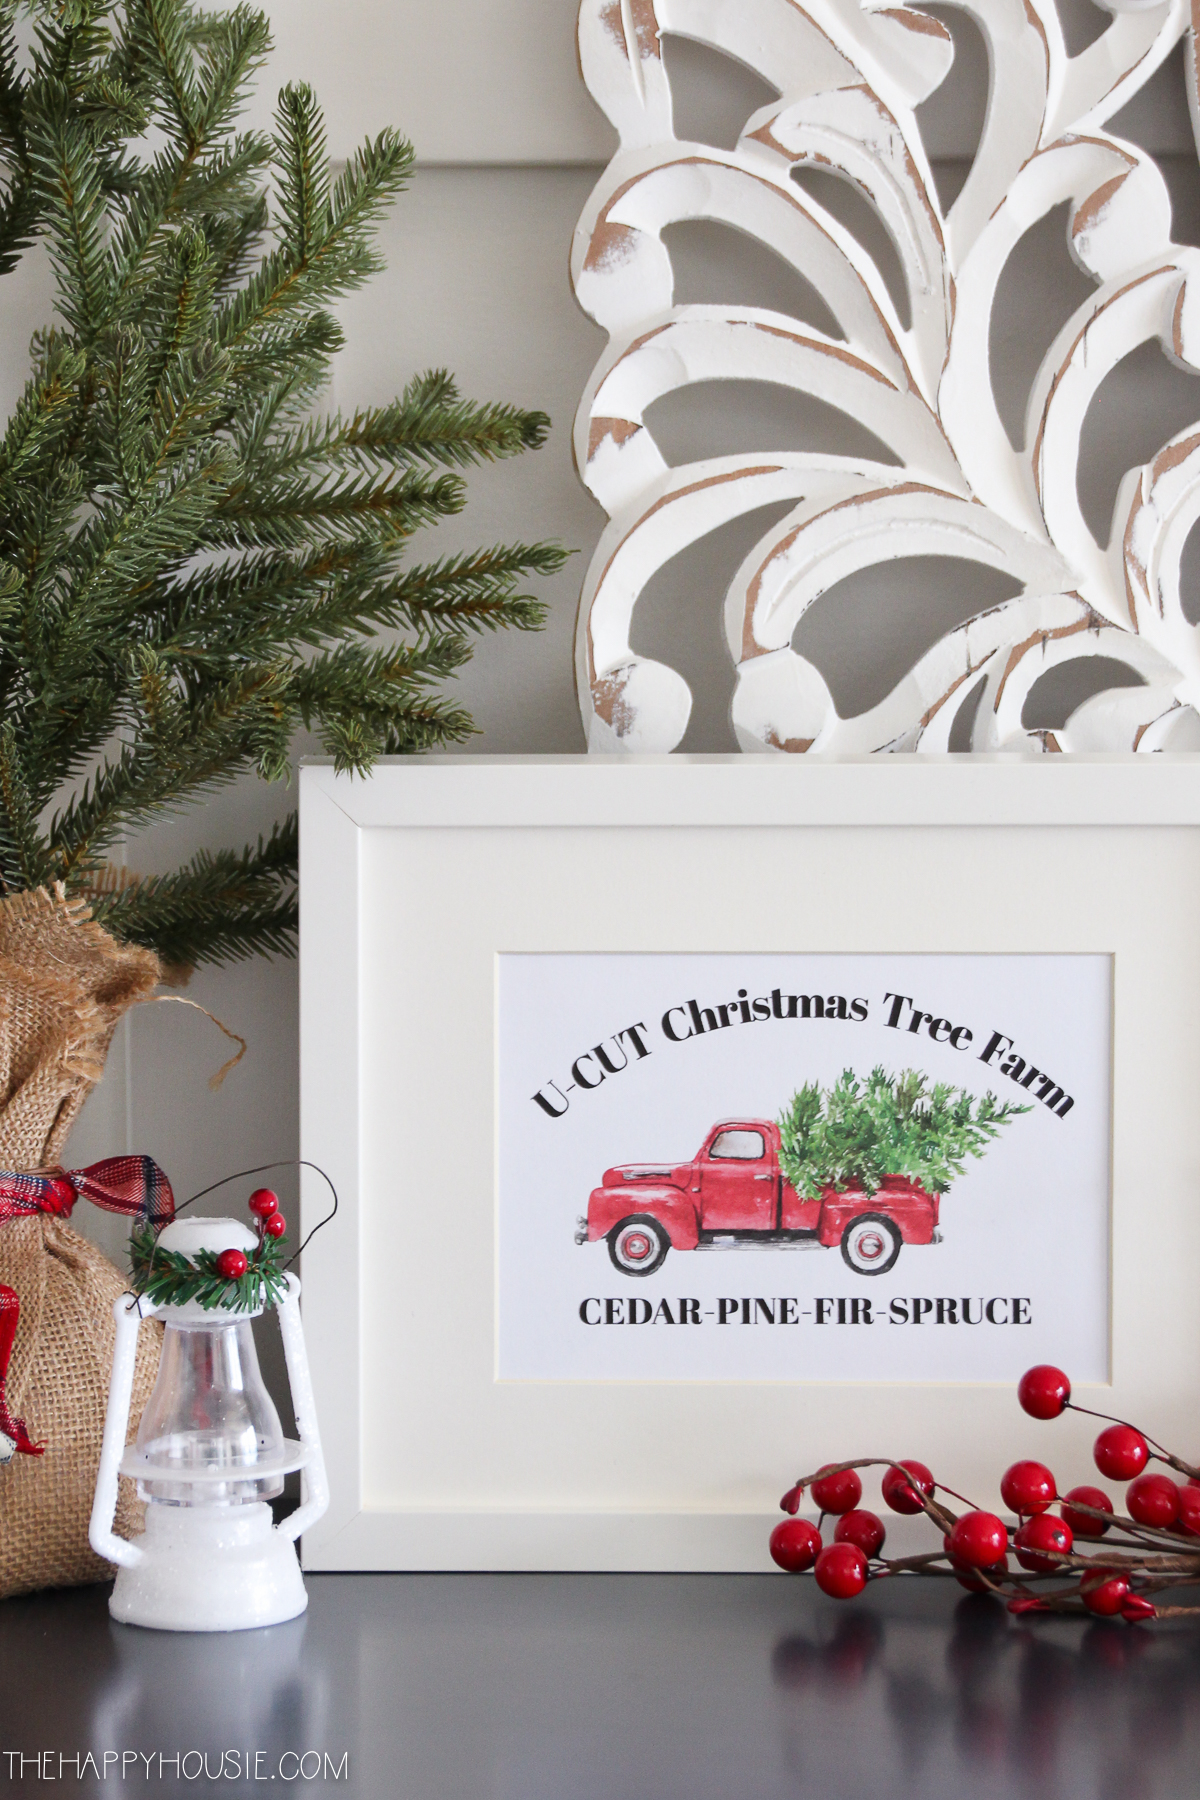
I like to anchor the ends of a display with taller pieces, like on our Christmas mantel as well as our dining room vignette last year. The larger pieces at each end give the feeling of framing out the whole vignette and draw your eye from the edges into the centre of it.
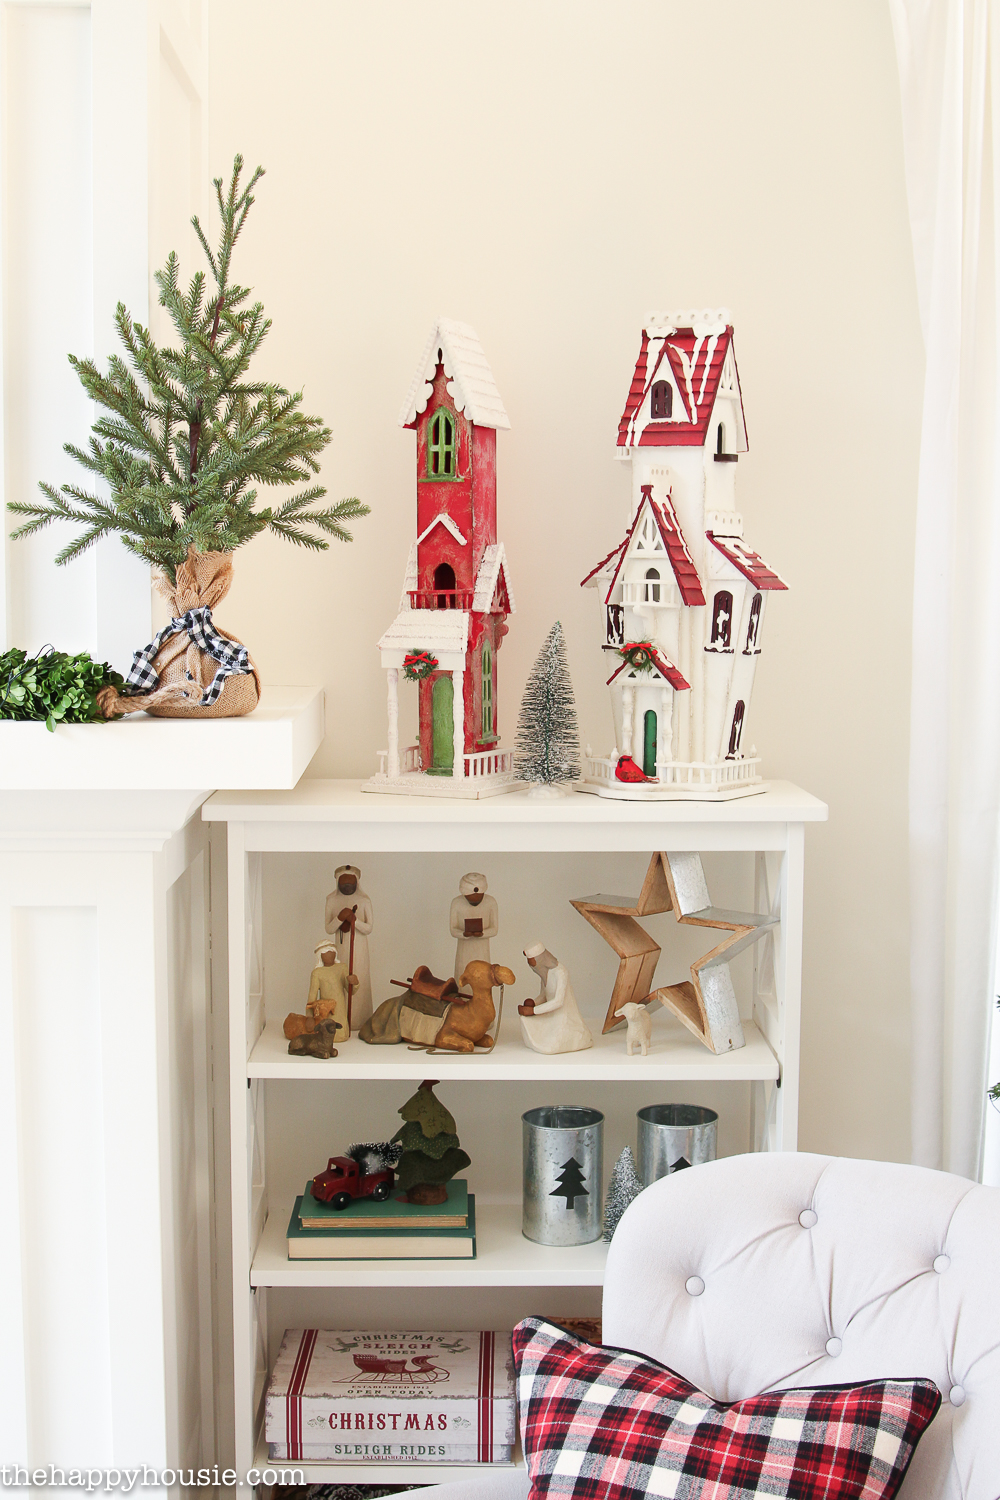
Use a theme to help you chose items that go together
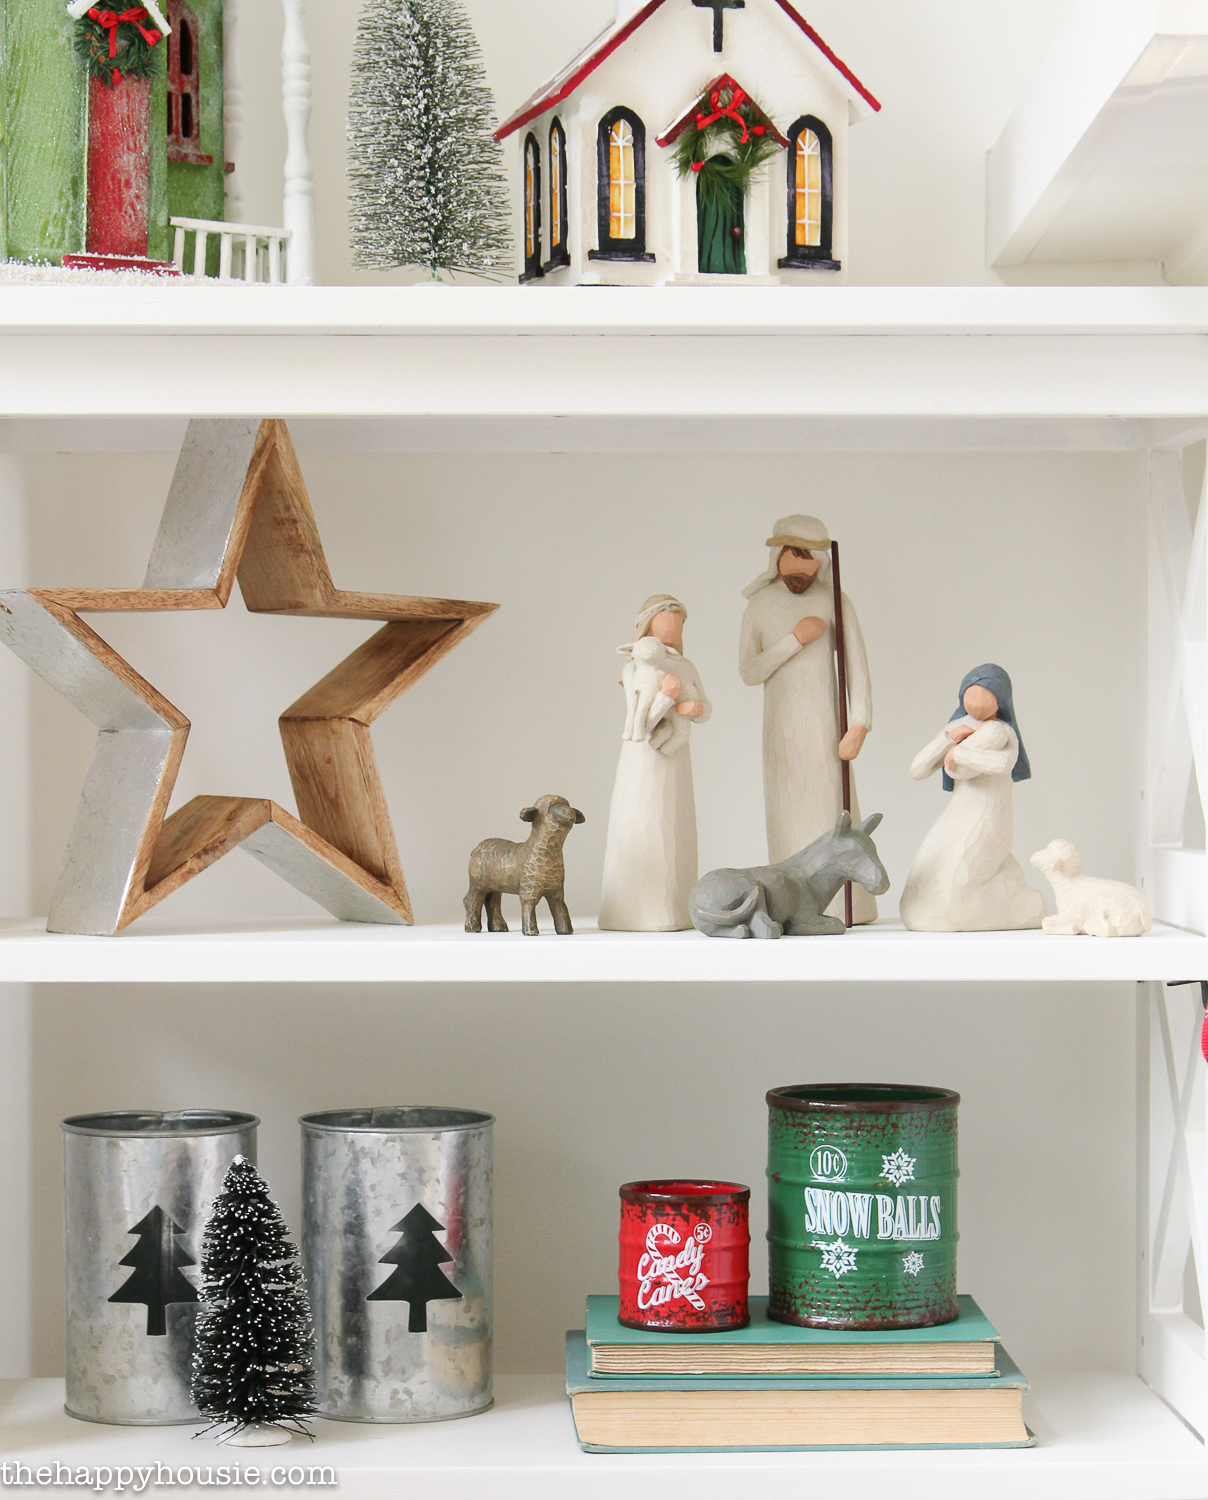
On last year’s Christmas shelves, I grouped my Nativity pieces together on one shelf with a large star, to create a theme that flows beautifully together on that shelf. On the lower shelf, the bottlebrush tree set in front of the galvanized metal candle holders echoes the design of the tree cutouts, as well.
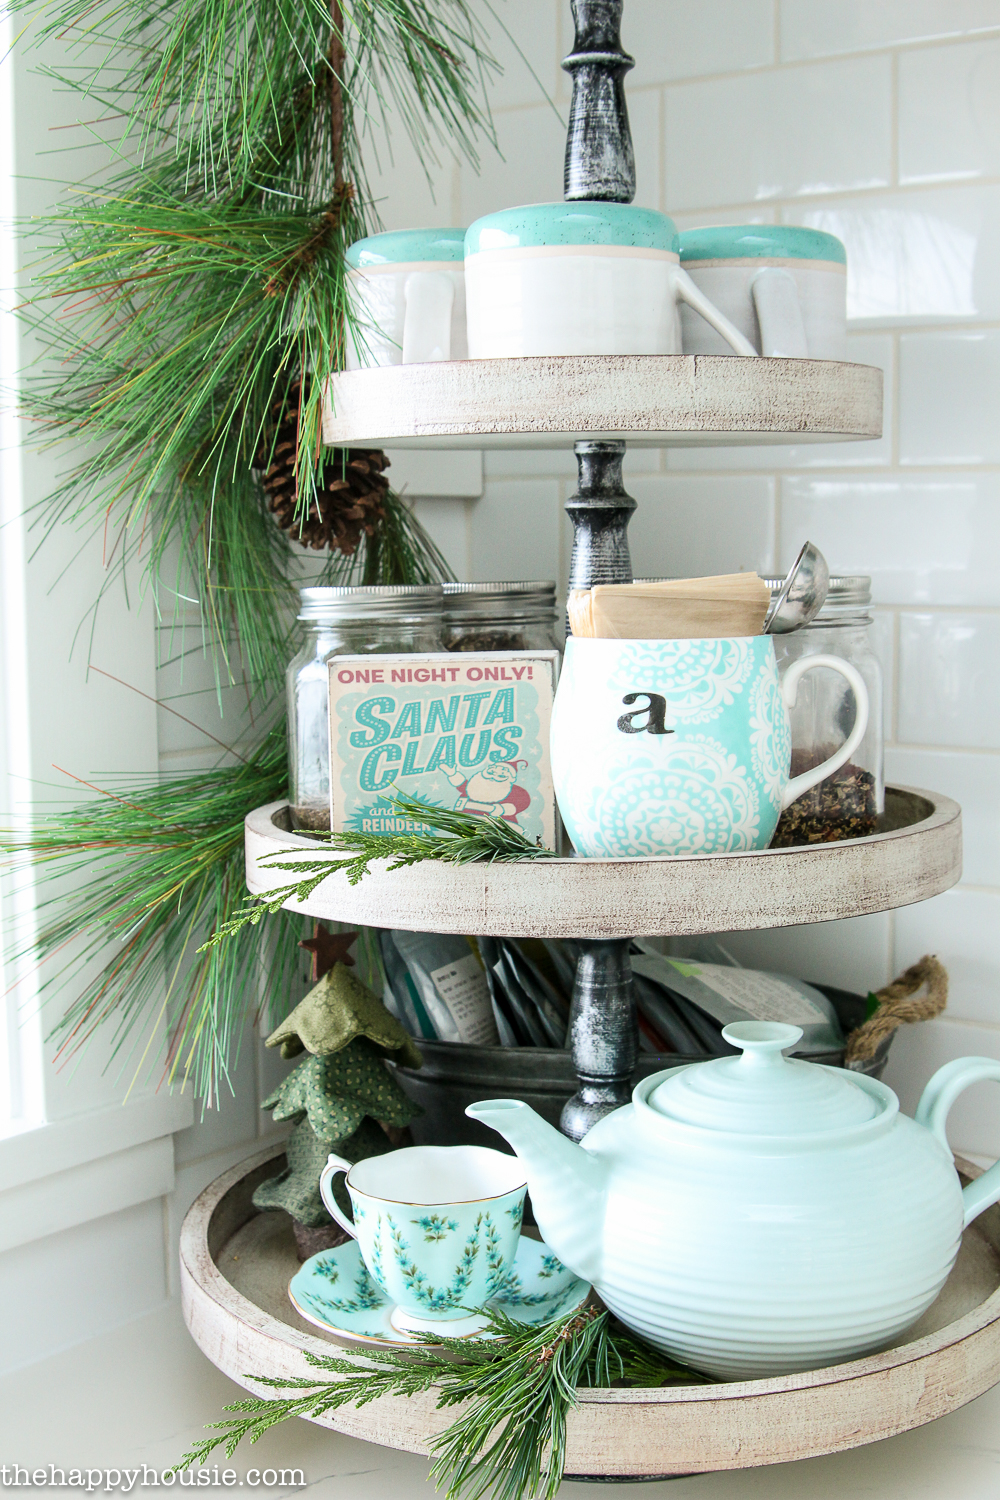
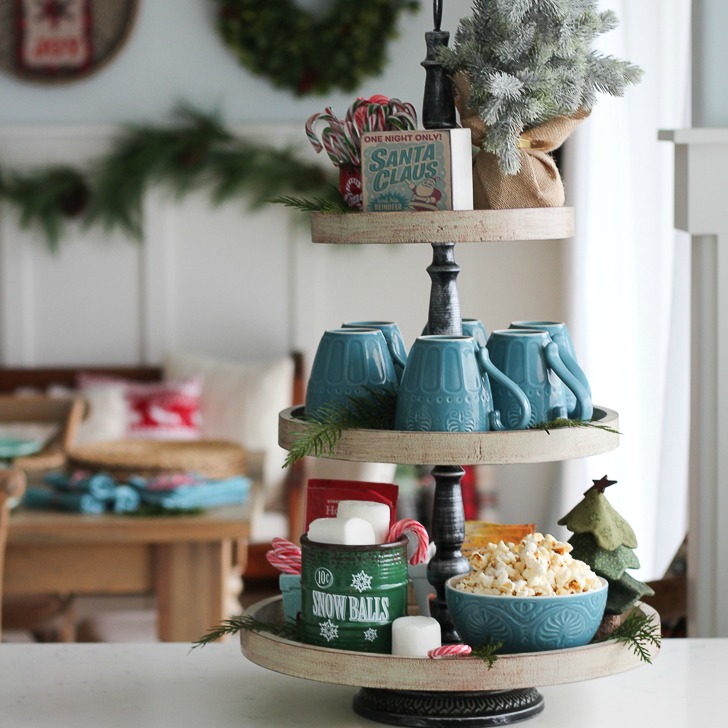
The tiered tray in our kitchen is also another beautiful but non-traditional focal point that I love to use to group and display similar themed items each holiday season. Pulling together a fun kitchen vignette around a holiday food or drink find is a great way to create a cute and practical display!
Layer objects to create depth
Layering is key! Start with larger pieces at the back and on the ends, and then layer the pieces that you are grouping (in odd numbers), setting some behind and some in front and overlapping slightly. Adding the dusting of snow to this vignette ties it all together and smooths out the layers.

You can see that on my shelves I’ve layered some larger items behind and smaller in front, and in the Nativity scene the pieces overlap and are layered together to look like they are part of a unified whole (instead of just being randomly dispersed all over the surface of the shelf). Layering and overlapping helps form a visual connection between pieces so that a viewer’s eye takes the group of items in as a whole instead of just looking like clutter.
I hope you feel a little more prepared to face your Christmas bins, now! I am looking forward to getting ours out in our new house… after we finish unpacking and painting the main rooms, that is. Nothing like moving right before the holidays!
Today I’m joined by a group of my talented blogging friends who are also sharing their holiday mantel and vignettes ideas with you…
The Happy Housie // House by Hoff // Rooms FOR Rent // The Turquoise Home
Lolly Jane // Just a Girl and Her Blog / / Taryn Whiteaker Designs / / My Uncommon Slice of Suburbia
So Much Better With Age // Finding Silver Pennies // Home Made Lovely // Designthusiasm
tatertots and jello // Clean and Scentsible // All Things With Purpose // Tauni Everett
Craftberry Bush // Hallstrom Home // Rambling Renovators // Deeply Southern Home
Modern Glam // Summer Adams // Happy Happy Nester // Town and Country Living
Willow Street Interiors // Sawdust to Stitches // Life is a Party
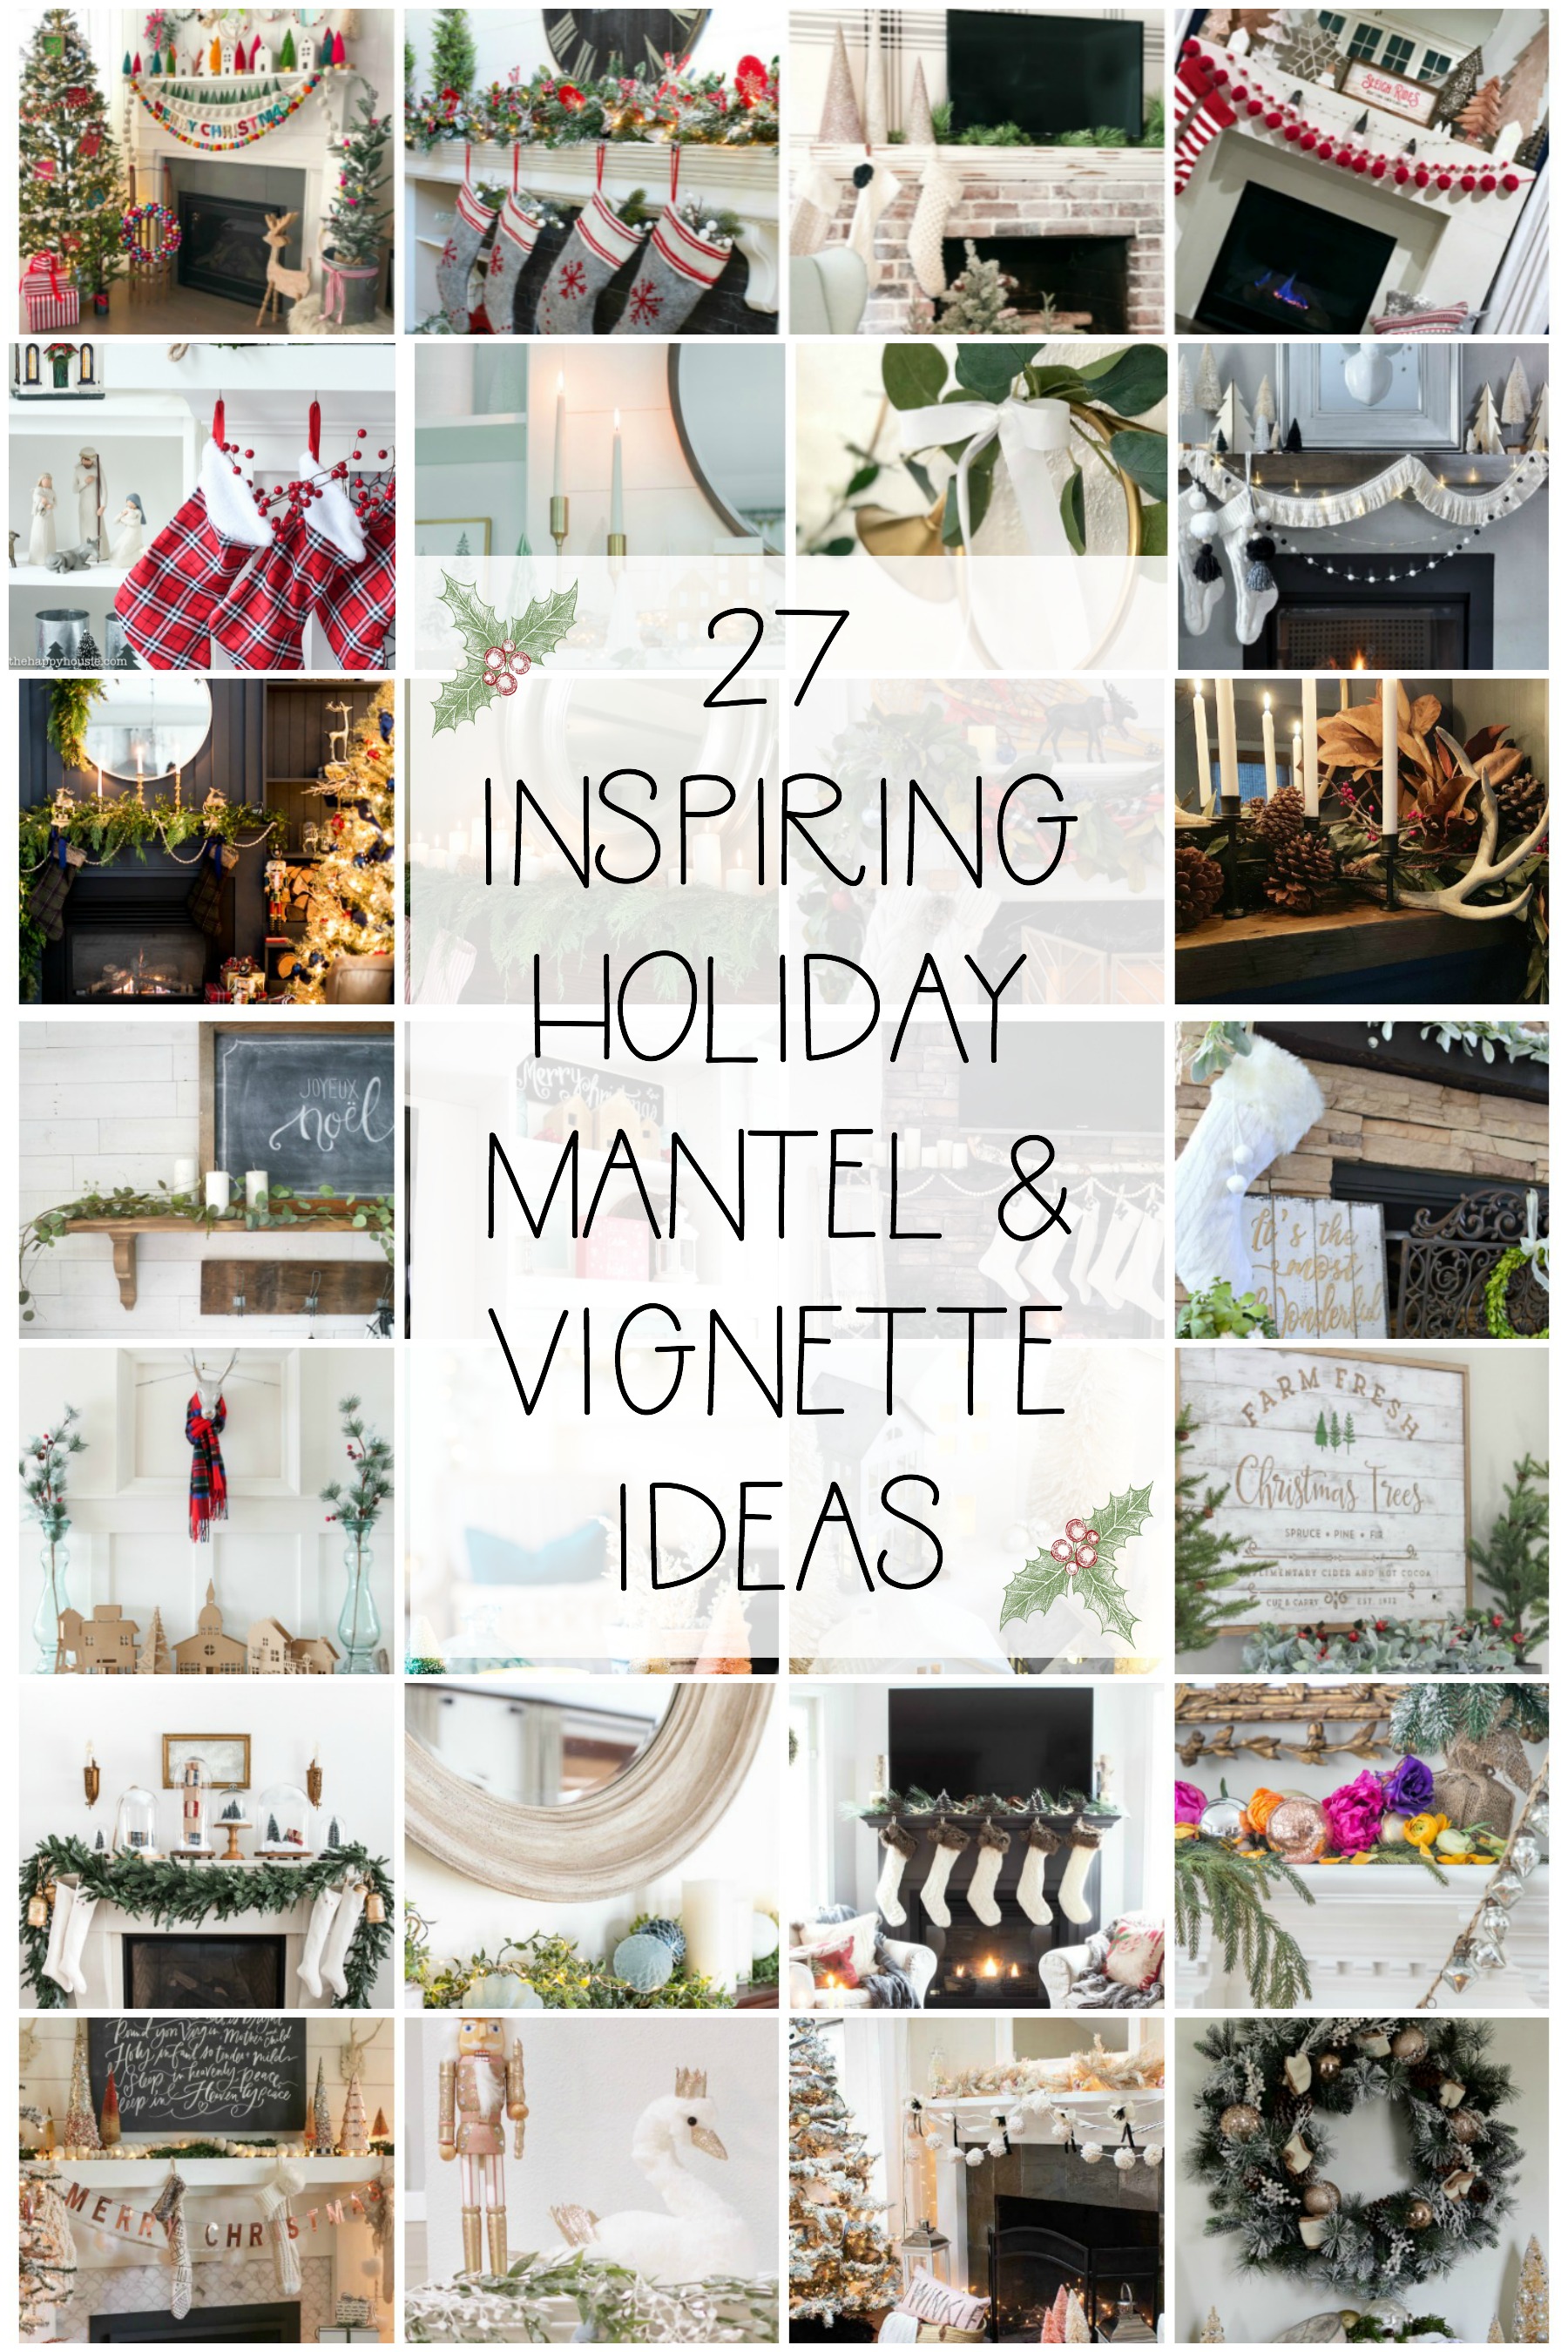
Did you see something you want to remember?
Then PIN it!

You are the best at vignettes, my friend! Thank you so much for organizing this fun tour!
~Abby =)
Thank you, Krista, for sharing your great ideas. Did you make those fabulous paperboard houses? I would love to see a tutorial.
Hi Cindy,
I did not make them – I wish I had! But you wouldn’t believe where I found them?!? Dollarama!
Krista, you always organize the most beautiful tours, and your decor always blows me away! Great tips! xoxo
So many cute ideas. Thank you for putting the hop together Krista…xo
There are so many gorgeous vignettes, Krista! I am pinning so many of them for inspiration for next year! Thanks so much for hosting, friend! xo
Such great tips, Krista!
Such great ideas, Krista! Thank you for organizing such a wonderful tour!
Hugs, Jamie
Love the reindeer with the scarf! So cute!
I love all these ideas!! so many ideas I can do
Thank you for all your tips, I love your vignettes, so pretty! Happy Thanksgiving!
Great tips, Krista! Especially love those houses and skis- I’m dead! Pinning!
XOXO
Beautiful ideas Krista!! It must be so nostalgic looking back at all of these photos now that you’ve moved!
Such great tips, and so many pretty, pretty vignettes. Makes me want to decorate everywhere!